
![]() Estimated Read Time: 6 minutes
Estimated Read Time: 6 minutes
Sections in this article:
Note: Workflow creation is an advanced topic, please reach out to our Customer Success Team if you require any support in setting up and configuring your Workflow(s).
Phases are stages in a workflow, representing specific steps, such as Procurement Approval or Compliance Reviews. You can add as many phases as required in your workflows, however, it is recommended to avoid adding excessive or unnecessary phases, as this may introduce unnecessary complexity to the process.
Add a Phase
To add a phase to a workflow:
- Open the workflow.
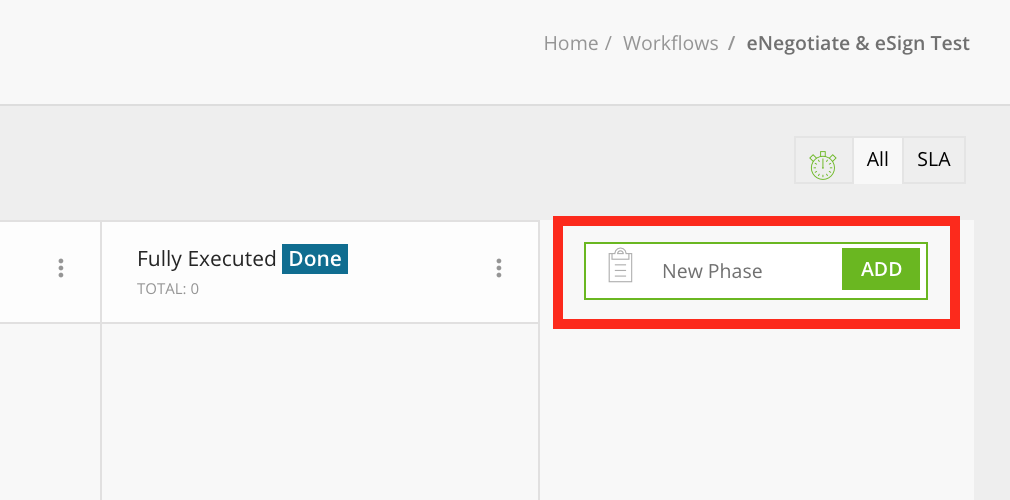
- Click Add in the New Phase column.
- Complete the core details for the phase:
- Enter a title.
- Add a Label and Description if required.
- If this is an end phase (e.g. a rejected phase) select the This phase is an end of process checkbox.
- Click Save & Next.
This will add the phase between the Start Form and Workflow End phases. Repeat this process for as many phases as needed.
Reorder Phases
To change the order of phases:
- Click the Reorder Phases icon.

- Drag and drop the phases into the desired position.
- Select the Minimise checkbox if you want the phase to be minimised by default. Users can then click to expand this if needed.
- Once finished, click Update.
Edit a Phase
To edit a phase, click on its title.

You can then configure the phase attributes using the sections on the right of the screen. This is where rules are set that determine how the card flows through the Workflow:

Core
This contains the basic details for the phase. You can:
- Edit the Title
- Add a Label and Description
- Select whether the phase is an ‘end phase'
- Add checklist items
- Configure display settings
- Delete the phase

Form Access
Here, you can configure the authorisation type and ownership for the phase.
Select the appropriate radio button to set the Authorisation for this phase:
- Internal - strictly internal users
- Vendor Portal - for Vendor Portal users
- Employee Portal - for Employee Portal users (you can choose to enable a public link for the request form)
- Vendor eNegotiate - for Vendor Users associated with an eNegotiate process
Next, configure the ownership settings, Each phase of a workflow can have one or more owners. These are the individuals or groups responsible for managing tasks within their assigned phase.
Auto-Assign rules automatically assign the card ownership to your chosen setting.
Finally, if Auto-Assign cannot find an owner for a particular card, you can select a backup setting for your Card Owner, which includes the Card Creator, a Workflow Group or a member of a Workflow Group.

FYI: If Card Creator is selected as a a phase owner for a Triggered workflow, Gatekeeper will attempt to populate an owner, using the below rules:
- If there is a Contract Owner > Assign the main Contract Owner
- If there is not a main Contract Owner but a different Owner type > Assign the other Owner
- If there are no Contract Owners at all > Assign the Contract Creator
- If the contract was created via API or Bulk Import (and therefore has no creator user) > Assign the Workflow Creator
Notifications
Here, you can select who will receive notification emails for the phase.
- Email notifications - notifies the selected recipients when the card arrives in this phase.
- Email reminders - reminds the selected recipients every X days after the card arrives in the phase.

You can choose from:
- Card Owner - the assigned phase owner
- Card Collaborator - a user manually granted read-only access to a card
- Card Creator - the form requestor
- All Vendor Users - all contacts belonging to the vendor associated with a Workflow card
- CC Group - you can CC one or many users in a Workflow Group
See Configure Workflow Notifications for further details.
Form
Here, you can add sections to your workflow form, and set each section as Read only, Hidden or Editable for this phase.
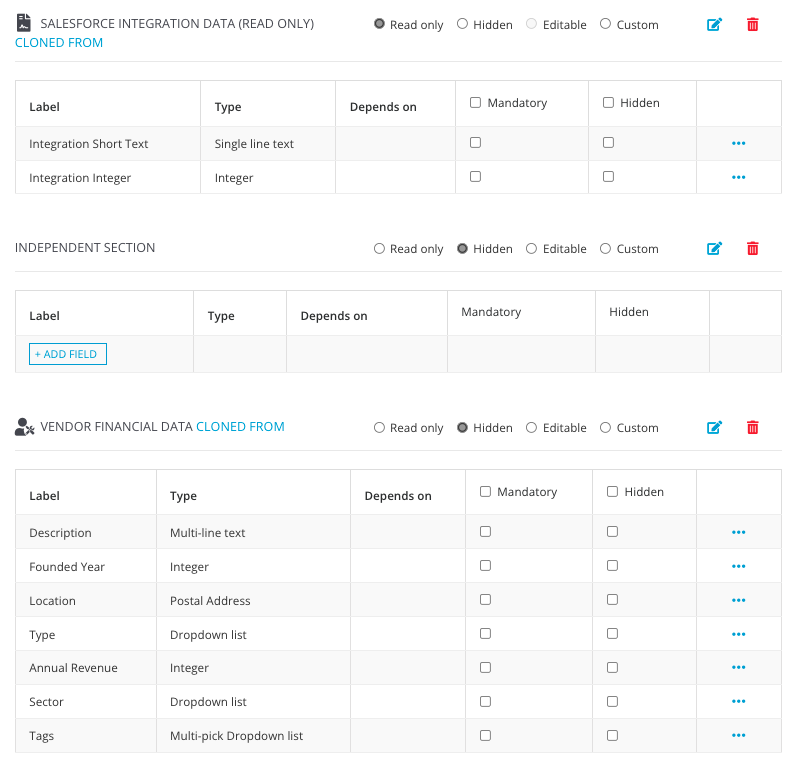
See Set up a Form within a Workflow for a step-by-step walkthrough.
Approval
Here you can select whether the phase is an approval phase or not.

To learn more, see Phase Approvals.
Transitions
Set the rules that determine which phase the card is automatically routed to when exiting the current phase. Cards can also be dragged and dropped for closely managed processes.
For example, on an approval phase, there may be two rules:
- If approved, move to the next phase.
- If rejected, move to the rejection phase.
You can also set Conditional Transition rules, for example:
- If approved and Contract Value > $1,000,000, move to CEO Review phase.

See Configure Workflow Transitions for a full overview.
Actions
Here, you can select the relevant workflow actions. This is generally a task that a user can perform on the workflow which affects something outside the workflow.
 To learn more, see Configure Workflow Actions.
SLA
Here, you can configure an SLA timer to keep track of your cards and automate workflow processes. 
See Workflow SLA Timers for further details.