
![]() Estimated Read Time: 3 Minutes
Estimated Read Time: 3 Minutes
Sections in this article:
Which Dropdown Lists Are Configurable?
Dropdown lists are core fields within Gatekeeper that can be customised to include specific options. For example, you could create an additional contract type of Non-Disclosure Agreement. Dropdown lists that are configurable include:
- Contract Type
- Vendor Type
- Event Type
- Track Type
- Project Type
- File Type
- Risk Type
Configure Dropdown Lists
Note: Users require the Administrator role and Configuration additional permission to do this.
- From the navigation menu, expand the Settings option, then click Configuration.
- Click Dropdown Lists.
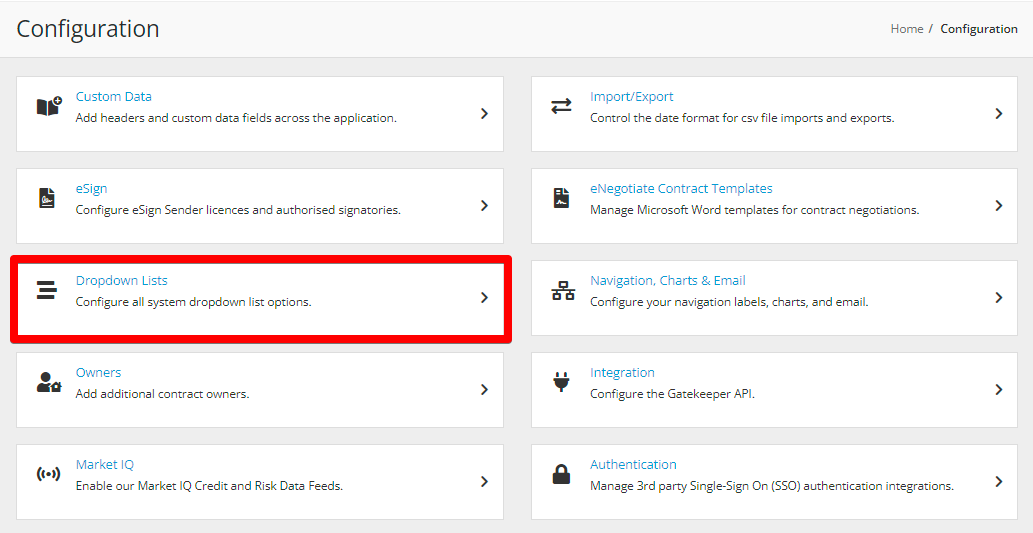
- Click the name of the list you want to configure.
Add an Option
To add a new option:
- Click Add Dropdown Option.

- Enter the label name.
- Click Save.
Edit an Option
To edit an existing option:
- Expand the 3 dots and select Edit.

- Click Yes to confirm.
- Update the label and click Save.
Delete an Option
To delete an existing option:
- Expand the 3 dots and select Delete.

- If the option is in use, the next screen will tell you which records are using it. Click on the record and remove the option, or cancel the deletion.

Note: If you need to remove options that are used extensively throughout Gatekeeper records, it's recommended to use the export/import method to change these values in bulk.
Add Options From Within a Dropdown List
New optioms can be added directly when adding or amending records.
Note: Users require the Administrator role and Configuration additional permission to do this.
When selecting an item from a dropdown list, click Add New to create a new option.

A pop-up will appear where you can enter the new list item, then click Save.
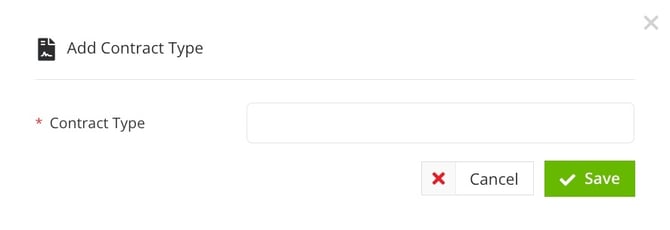
The new item will be added to the list, and automatically selected as the chosen option for the record you were updating.