
![]() Estimated Read Time: 3 Minutes
Estimated Read Time: 3 Minutes
Sections in this article:
- Part 1 - Configure Microsoft SSO
- Part 2 - Configure Gatekeeper
- Part 3 - Log in to Gatekeeper with Microsoft
Before proceeding with the configuration of Microsoft SSO, follow the recommendations in the SSO Best Practices Guide.
Part 1 - Configure Microsoft SSO
There are two options for configuring Microsoft SSO:
- Add Gatekeeper to your Azure Microsoft Apps
- Add Gatekeeper to your Azure Enterprise Apps
Add Gatekeeper to your Azure Microsoft Apps
- In your apps Gallery, click ➕ Create your own application.
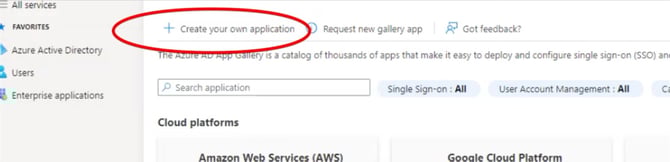
- Name the Application (Gatekeeper), then click Create.

- Do not choose a pre-existing Gallery application. This should be a custom app.
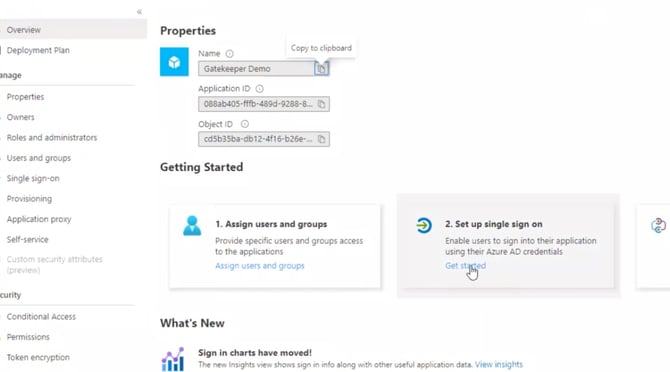
- Under Getting Started, click Set up single sign on.
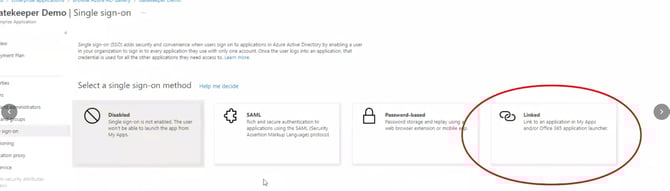
- Select Linked as the SSO type.
- Configure the Sign on URL using one of the below options:
- If US: https://auth-us.gatekeeperhq.com/users/auth/microsoft_oauth2
- If Canada: https://auth-ca.gatekeeperhq.com/users/auth/microsoft_oauth2
- If Europe: https://auth-eu.gatekeeperhq.com/users/auth/microsoft_oauth2
- If APAC: https://auth-apac.gatekeeperhq.com/users/auth/microsoft_oauth2
- Click Save.
- As the final step, you can assign the users/groups in MS/Azure who should be able to authenticate and log in to Gatekeeper.
Add Gatekeeper to your Azure Enterprise Apps
- Navigate to your Enterprise Applications and click ➕ Create your own application
- Name the Application (Gatekeeper), then click Create.
- Under Basic SAML Configuration, populate the below values:
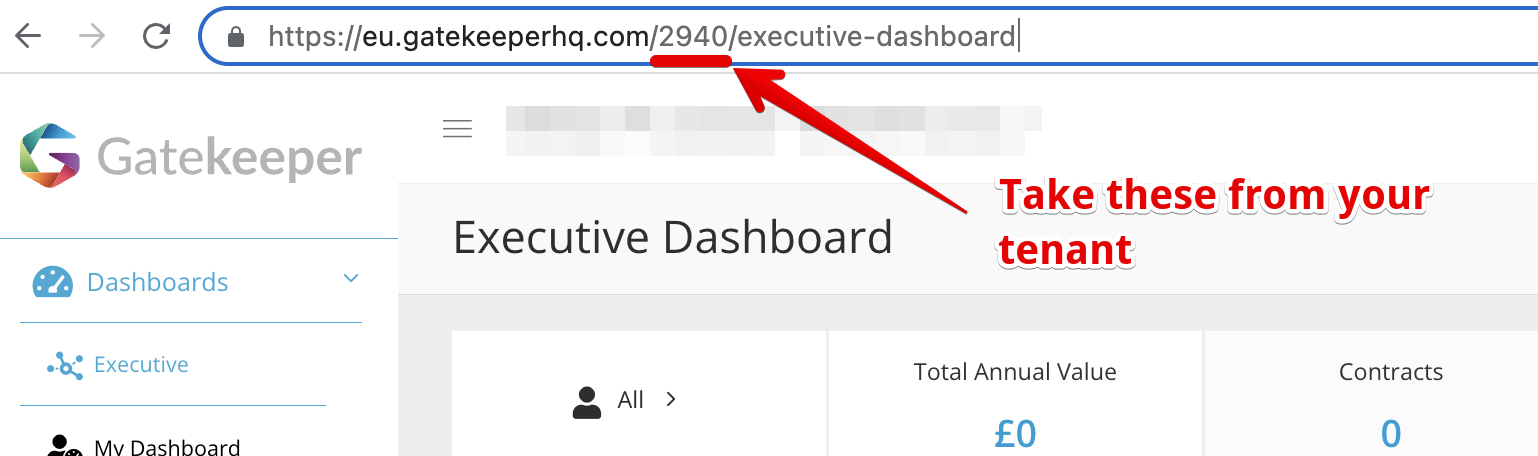
- Entity ID: Take the 4 digits from your tenant's Gatekeeper URL.
- Reply URL:
- If US: https://auth-us.gatekeeperhq.com/users/auth/microsoft_oauth2
- If Canada: https://auth-ca.gatekeeperhq.com/users/auth/microsoft_oauth2
- If Europe: https://auth-eu.gatekeeperhq.com/users/auth/microsoft_oauth2
- If APAC: https://auth-apac.gatekeeperhq.com/users/auth/microsoft_oauth2
- Entity ID: Take the 4 digits from your tenant's Gatekeeper URL.
- Click Save
- As a final step, you can assign the users/groups in Azure who should be able to authenticate and log in to Gatekeeper.
See Microsoft's guidance for further details.
Part 2 - Configure Gatekeeper
Once you have verified that this app has been set up successfully and that users can authenticate via SSO, you can lock your Gatekeeper environment so that Microsoft SSO is the only valid login option. To do this:
- From the navigation menu, expand Settings then click Configuration.
- Click Authentication.
- Select the Require Microsoft Single Sign On (SSO) radio button.
- Enable the Support Access toggle to allow tenant users with the @gatekeeperhq.com domain to bypass your SSO authentication requirements, so that they can assist with any support enquiries related to your tenant. It is strongly recommended to enable this.

- Click Save.
Note: if you would like to continue allowing users to login using the standard username and password set from within Gatekeeper, as well as Microsoft SSO authentication methods, select the Standard authentication or Allow all authentication methods radio buttons.
Part 3 - Log in to Gatekeeper with Microsoft
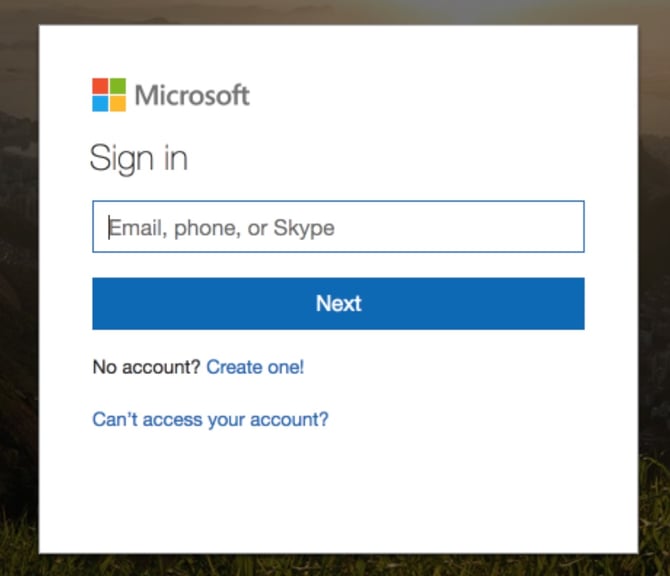
- Navigate to the relevant URL and you will be prompted to sign-in with your Microsoft Account:
- If US: https://auth-us.gatekeeperhq.com/users/auth/microsoft_oauth2
- If Canada: https://auth-ca.gatekeeperhq.com/users/auth/microsoft_oauth2
- If Europe: https://auth-eu.gatekeeperhq.com/users/auth/microsoft_oauth2
- If APAC: https://auth-apac.gatekeeperhq.com/users/auth/microsoft_oauth2
- Select your Microsoft account.
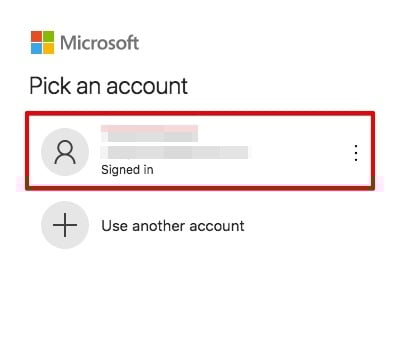
You are now logged in to Gatekeeper via your Microsoft account. When troubleshooting login issues, verifying the case sensitivity of both the email address and password is essential.
Note:
- Access to the Vendor Portal will remain via username and password, even when SSO authentication is set.
- Access to the Employee Portal via Google SSO, Micsrosoft SSO, and Username and Password can be enabled/disabled in the Just In Time Provisioning settings screen.