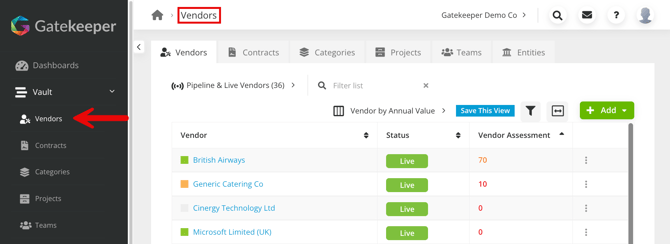
Configure the Vendor Portal
This article will outline the steps required to configure the Vendor Portal.
![]() Estimated Read Time: 4 Minutes
Estimated Read Time: 4 Minutes
Sections in this article:
- Enable the Vendor Portal
- Access the Vendor Portal
- Enable 2 Factor Authentication
- Configure the Vendor Portal
For an introduction to the Vendor Portal, see the Vendor Portal Overview.
Enable the Vendor Portal
- From the navigation menu, expand Modules and click Vendor Portal.

- Enable the VENDOR PORTAL toggle.

Access the Vendor Portal
Within the Vendor Portal Configuration section you will see a link. This URL will redirect Vendor Portal users to the Vendor Portal when they enter this address into their web browser.
Enable 2 Factor Authentication
By enabling the 2 Factor Authentication, your vendor users will be required to login with their email and password, as well as a one-time passcode.
- Enable the 2 FACTOR AUTHENTICATION toggle.

- Input the Timeframe in Days which will specify how often Vendor Users must complete the 2FA when logging into the portal.

- Click Save Setting.
When logging in, vendor users will see the following 2FA verification screen prompting them to enter the one-time passcode which is sent through their email.

Configure the Vendor Portal
Add an Administrator
You can assign an internal user as a Vendor Portal Administrator, allowing them to oversee vendor interactions through the Vendor Portal Dashboard.
Note: Only Global Collaborators and Global Administrators can be selected to be Vendor Portal Administrators.
- Click Add Administrator.

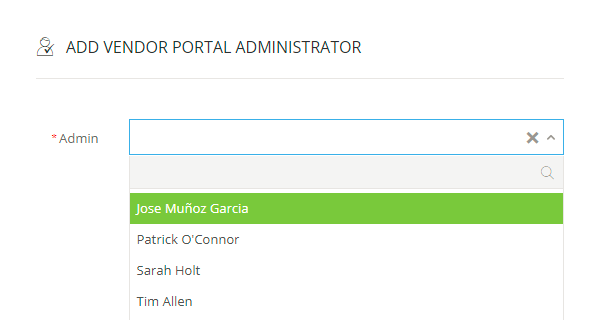
- Select the user from the dropdown list.

You can grant administration rights to the Vendor Portal to as many internal users as needed by repeating this process.
Once you have granted a user administrator rights, they will display in the Vendor Portal Administrators section. If you wish to revoke a user's administrator privileges, expand the 3 dots and select Delete.
Edit Vendor Label
You may wish to edit the name of the Vendor Portal to something that is more relevant to its use case within your organisation (i.e. You may wish to rename from Third Party Portal to Vendor Portal, or another name that matches your organisation's naming convention). To do this:
- From the navigation menu, expand Settings, then click Configuration.
- Click Navigation, Charts & Email.
- Expand the 3 dots on the Third Party field and select Edit.

- Enter the label, then click Save to confirm the changes.


Customise the Vendor Portal Invitation
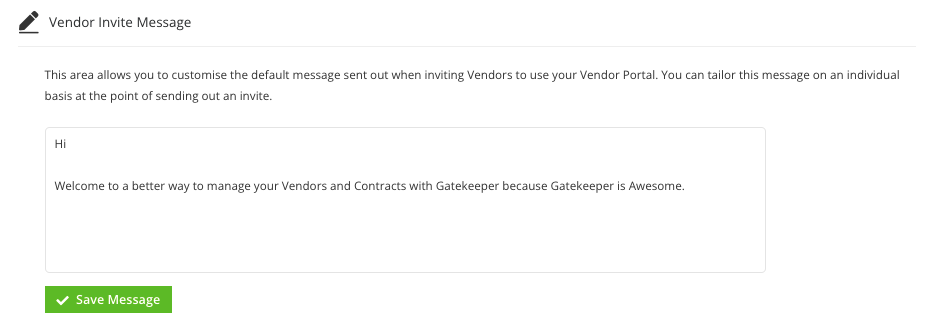
You can change the default message that is sent with the Vendor Portal Invitation email.
To do this:
- From the navigation menu, expand Modules and click Vendor Portal.
- Scroll to the Vendor Invite Message section.
- Amend the message as required, then click Save Message.

You can further tailor this message on an individual basis at the point of sending out an invite.