
![]() Estimated Read Time: 4 Minutes
Estimated Read Time: 4 Minutes
Sections in this article:
- Part 1 - Prepare Gatekeeper for Configuration
- Part 2 - Configure Okta
- Part 3 - Configure Gatekeeper
- Part 4 - Test the SSO Connection
- Part 5 - Restrict Access to Only Allow Okta SSO
Before proceeding with the configuration of Okta SSO, follow the recommendations in the SSO Best Practices Guide.
In order to configure Okta SSO successfully, it's recommended to follow the below steps in order.
Part 1 - Prepare Gatekeeper for Configuration
- From the navigation menu, expand Settings then click Configuration.
- Click Authentication.

- Select the Allow All Authentication Methods radio button.
- Click Save.
Note: Do not select the Require Okta Single Sign On radio button at this stage. Without configuring and testing this setting, you may lock yourself out of your Gatekeeper tenant.
If you have done this and locked your tenant, inform our Support team here.
Find Your Base URL
To configure the Sign On settings in Okta, you'll first need to find your Gatekeeper Base URL. To do this, use the following format:
https://auth-[region].gatekeeperhq.com/[tenant_id]
- If US: https://auth-us.gatekeeperhq.com/[tenant_id]
- If Canada: https://auth-ca.gatekeeperhq.com/[tenant_id]
- If Europe: https://auth-eu.gatekeeperhq.com/[tenant_id]
- If APAC: https://auth-apac.gatekeeperhq.com/[tenant_id]
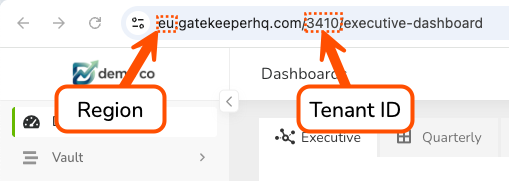
Your tenant ID is the number in your Gatekeeper URL when you're logged in. For example, in https://eu.gatekeeperhq.com/3410/executive_dashboard, the tenant ID is 3410.
Part 2 - Configure Okta
- Sign in to the Okta Admin Dashboard.
- Create Gatekeeper as a new Application.
-
Note: do not create a custom app, ensure to use the Gatekeeper app from Okta's catalogue.
-
- Click the Sign On tab for the Gatekeeper app and enter the Base URL.

- Click Save.
Note:
- See Okta's Guidance for further details.
- SP-initiated flows and IDP-initiated flows are supported.
- Just-in-Time (JIT) provisioning is not supported.
Part 3 - Configure Gatekeeper
- From the navigation menu, expand Settings, then click Configuration.
- Click Authentication, then click Configure Okta.
- Enter the values obtained from Okta as below:

- Application ID - This is the ID component of the URL generated in your Okta Admin Dashboard. For example, If Okta displays: http://www.myCompany.com/exk18o312mrXCbUs21d8, enter exk18o312mrXCbUs21d8 as the Application ID in Gatekeeper.
- Identity Provider Single Sign-On URL - This is the URL provided by Okta, used to redirect users to authenticate via Okta during login. This should be available on the Okta Admin Dashboard.
- X.509 Certificate - This is a security certificate issued by Okta, used by Gatekeeper to validate the identity provider and ensure secure communication. This should be available on the Okta Admin Dashboard.
- Once finished, click Save.
Part 4 - Test the SSO Connection
- Log out of Gatekeeper.
- On the log in screen, click Okta.

- Enter your credentials and sign in.
If you have configured the application correctly, you should be able to log in. When troubleshooting login issues, verifying the case sensitivity of both the email address and password is essential.
Note:
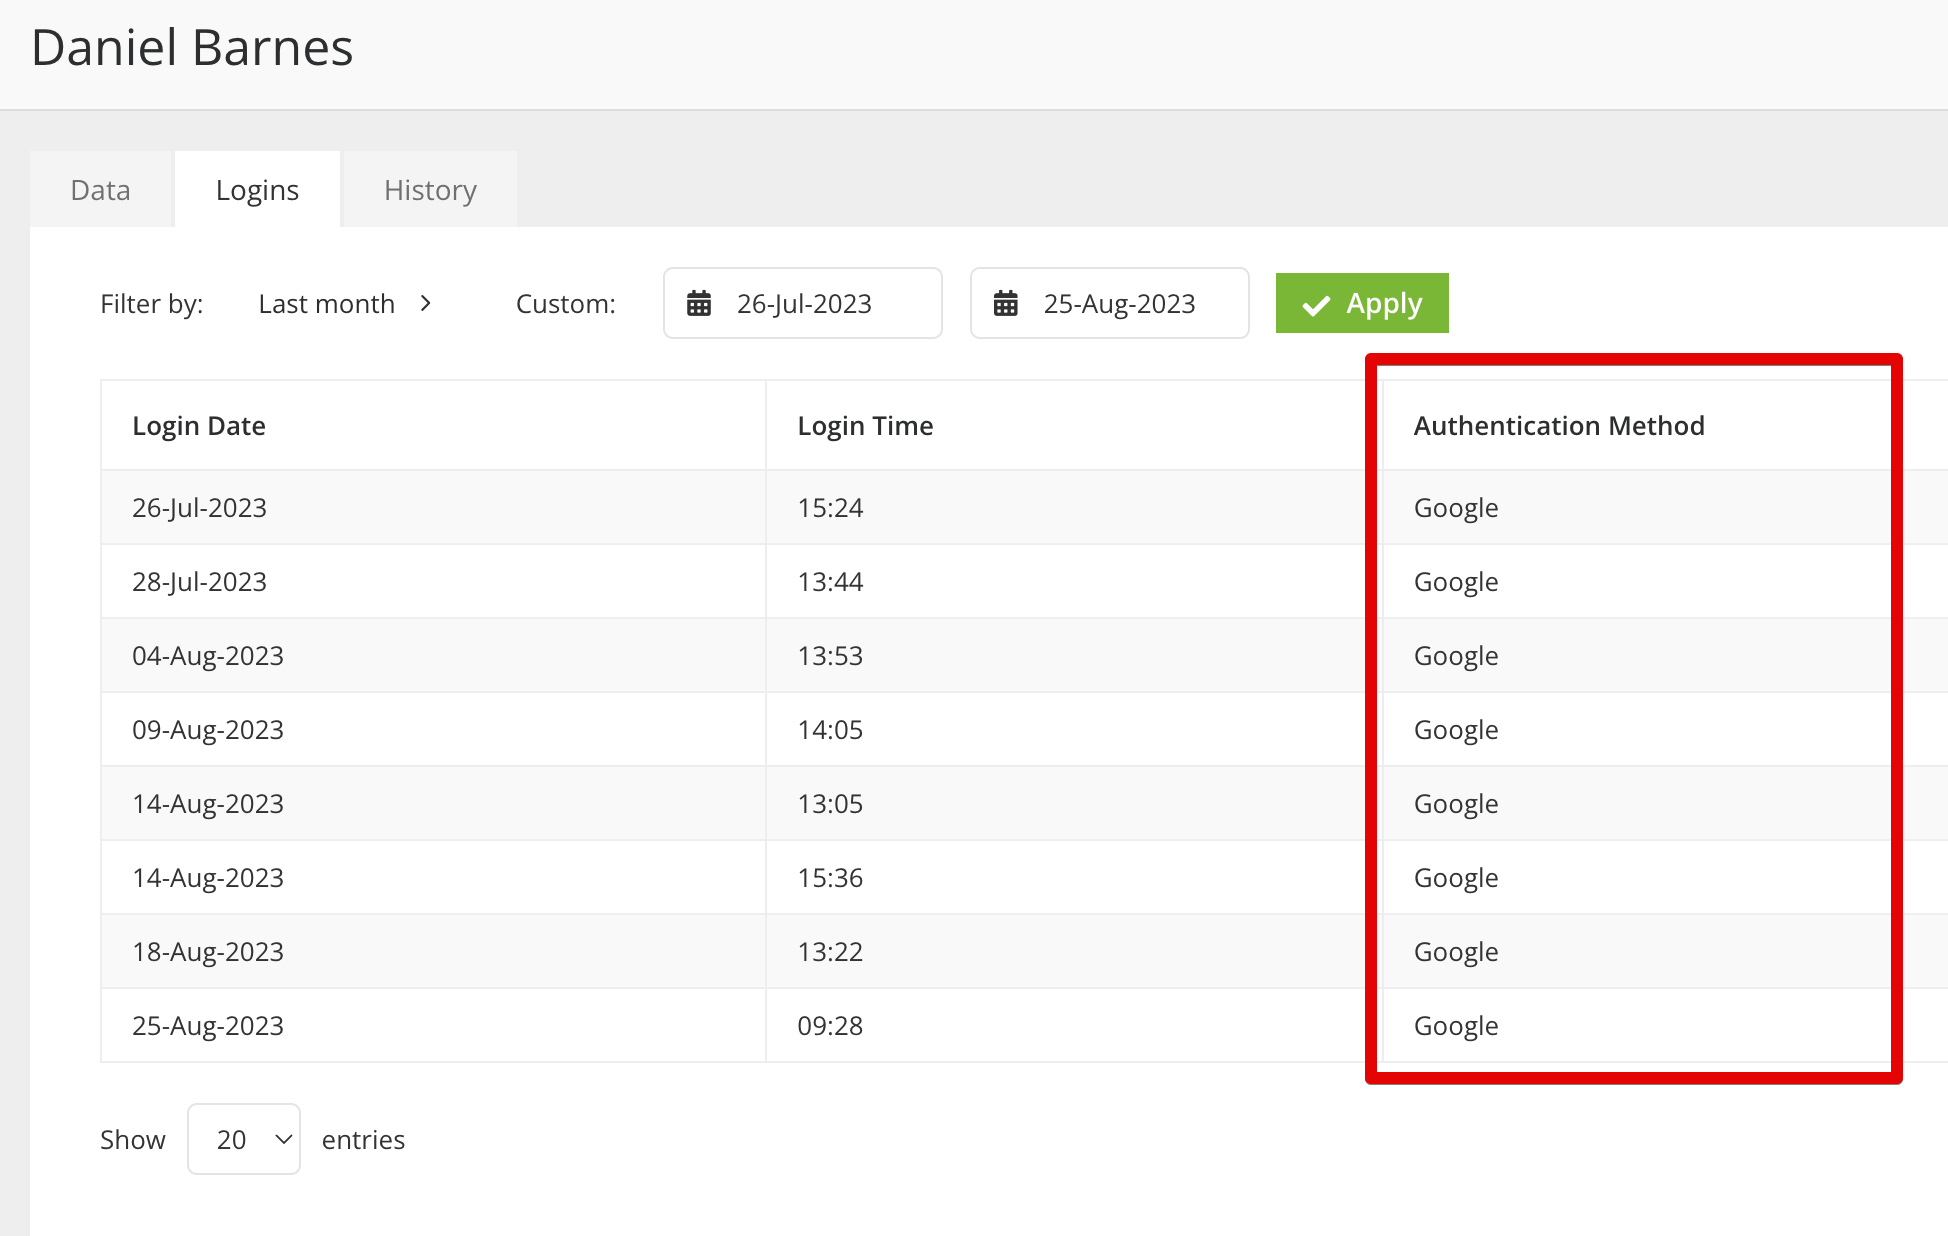
- It's recommend to verify if other users can log in successfully via Okta by checking their login history: To find this, from the navigation menu, expand Settings then click Users. Click on a user's Name then go to the Logins tab.
- After setting up Okta, newly added users may take up to an hour to appear due to the hourly sync schedule.
Part 5 - Restrict Access to Only Allow Okta SSO
After testing Okta SSO, you can restrict access to only allow Okta as a login method. To do this:
- From the navigation menu, expand Settings then click Configuration.
- Click Authentication.
- Select the Require Okta Single Sign On (SSO) radio button.
- Enable the Support Access toggle to allow tenant users with the @gatekeeperhq.com domain to bypass your SSO authentication requirements, so that they can assist with any support enquiries related to your tenant. It is strongly recommended to enable this.

- Click Save.
If you restrict your Gatekeeper tenant to only allow login via Okta, the other options will remain on the log in screen, but users will not be able to use them. Ensure that all users are aware of the correct login method to avoid access issues.
Note: Access to the Employee Portal and Vendor Portal remain via username and password when SSO authentication is set.