
![]() Estimated Read Time: 3 Minutes
Estimated Read Time: 3 Minutes
Sections in this article:
- Part 1 - Prepare Gatekeeper for Configuration
- Part 2 - Configure OneLogin
- Part 3 - Test OneLogin SSO
- Part 4 - Login to Gatekeeper with OneLogin
- Part 5 - Restrict Access to Only Allow OneLogin SSO
Before proceeding with the configuration of OneLogin SSO, follow the recommendations in the SSO Best Practices Guide.
Part 1 - Prepare Gatekeeper for Configuration
- From the navigation menu, expand Settings then click Configuration.
- Click Authentication.

- Select the Allow All Authentication Methods radio button.
- Click Save.
Note: Do not select the Require OneLogin radio button at this stage. Without configuring and testing this setting, you may lock yourself out of your Gatekeeper tenant.
If you have done this and locked your tenant, inform our Support team here.
Part 2 - Configure OneLogin
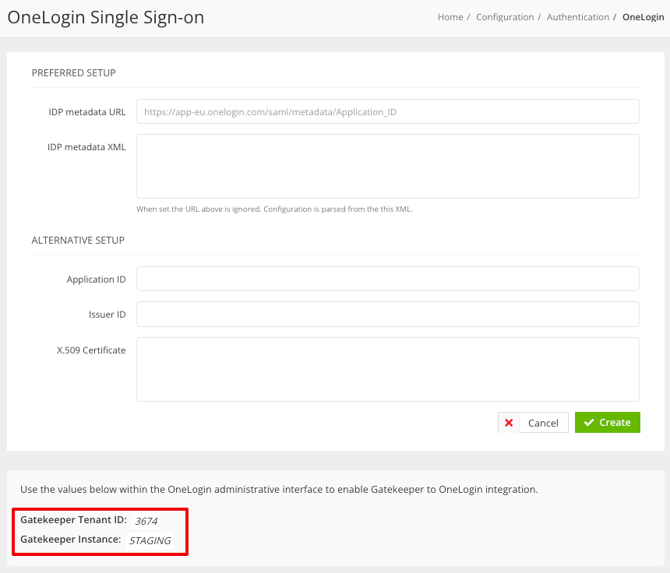
- From the Authentication page, click Configure OneLogin.
- Copy or note down the Gatekeeper Tenant ID and the Gatekeeper Instance. You will require this information when configuring Gatekeeper within the OneLogin admin portal.
- In a separate window or tab, navigate to the OneLogin admin portal.
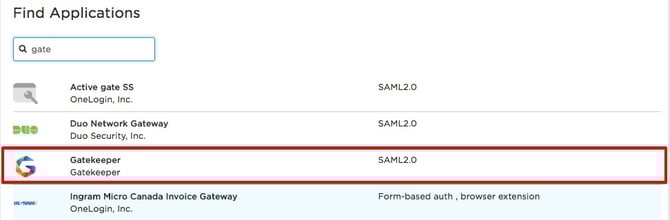
- Log in to the OneLogin admin portal and navigate to Apps > Add Apps.
- Search for and select Gatekeeper.
- Go to the Configuration tab and select your gatekeeper instance, then enter your Gatekeeper Tenant ID.
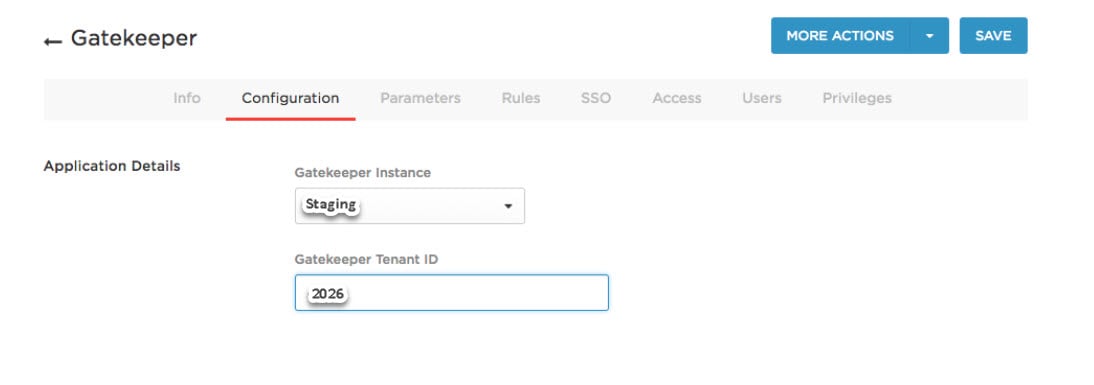
- Click Save.
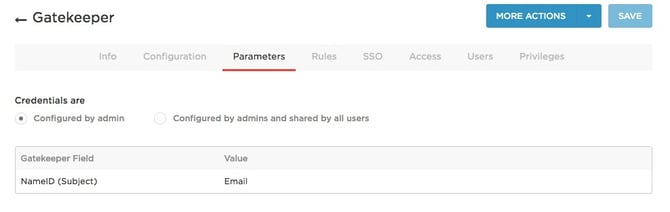
- On the Parameters tab, confirm your credential settings and user attribute mappings.
- Go to the SSO tab to copy or note down the SAML metadata.
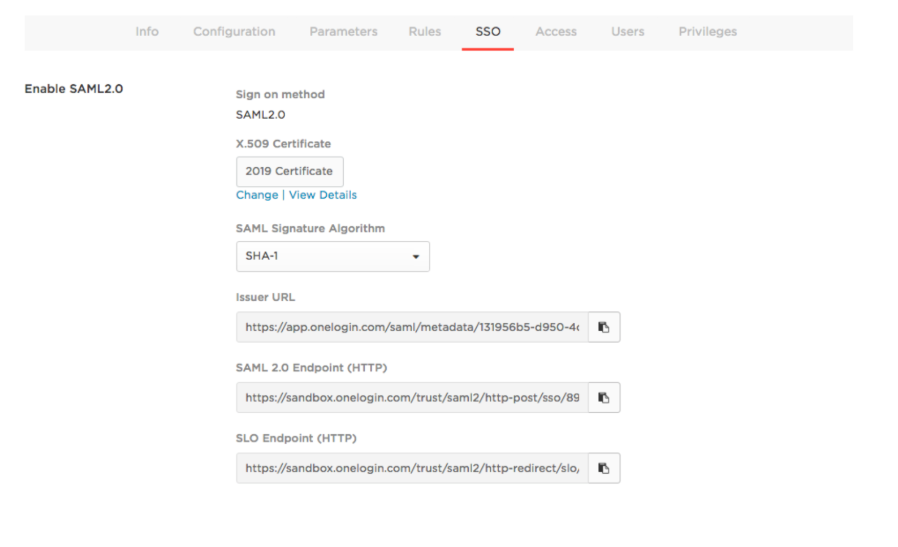 Gatekeeper requires:
- SAML 2.0 Endpoint (HTTP) URL: The OneLogin URL that provides data about OneLogin as a SAML-providing IdP. The OneLogin Application ID for Gatekeeper is all that is required from this field. The ApplicationID can be found at the end of the 2.0 Endpoint URL, as seen below. In this case the Application ID starts with 89, quite often you will need to scroll to the right to see the full number.

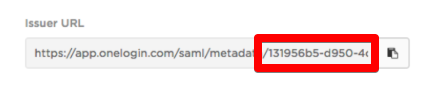
- SAML Issuer URL: The OneLogin URL that provides data about OneLogin as a SAML-providing IdP. TheOneLogin Issuer ID for Gatekeeper is all that is required from this field. The Issuer ID can be found at the end of the Issuer URL, as seen below. In this case the Issuer ID is 131956b5-d950-4 quite often you will need to scroll to the right to see the full number.
- X.509 Certificate: the Public certificate that establishes trust between OneLogin and Gatekeeper.
- To copy the X.509 certificate, click View Details then click the Copy to Clipboard icon for the X.509 Certificate. If you want a different certificate, click Change on the SSO tab, select the new certificate, and follow the above instructions. You must include the entire certificate, including -----BEGIN CERTIFICATE----- and -----END CERTIFICATE------ when you provide it to Gatekeeper.
- SAML 2.0 Endpoint (HTTP) URL: The OneLogin URL that provides data about OneLogin as a SAML-providing IdP. The OneLogin Application ID for Gatekeeper is all that is required from this field. The ApplicationID can be found at the end of the 2.0 Endpoint URL, as seen below. In this case the Application ID starts with 89, quite often you will need to scroll to the right to see the full number.
- Return to your browser tab with the Gatekeeper OneLogin Single Sign-On configuration page.
- Enter the Application ID, Issuer ID and X.509 Certificate data from step 11.
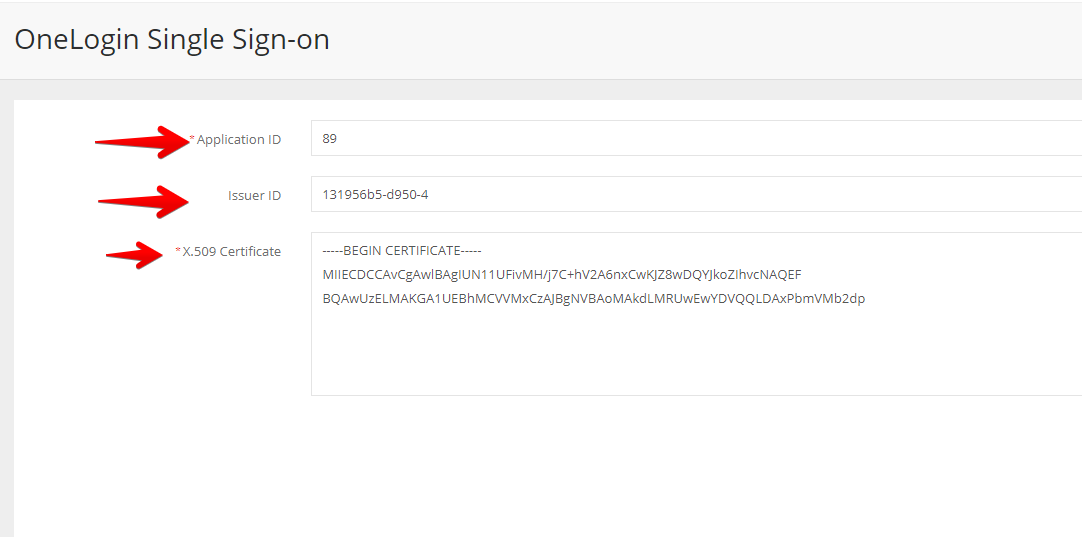
- Click Create.
Part 3 - Test OneLogin SSO
Ensure that you have matching user accounts in Gatekeeper and OneLogin (i.e. the OneLogin email address or username is identical to the app username). You can create a test user, or use your own account.
- Log in to OneLogin as an admin, and give the test user access to the app in OneLogin.
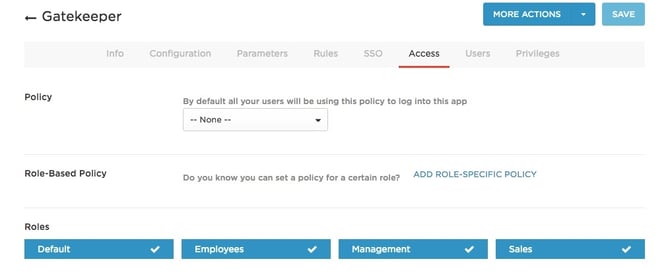
- In OneLogin, under Gatekeeper app administration, go to the Access tab to assign the OneLogin roles that should have access to the app, and provide any app security policy that you want to apply to the app.
- Alternatively, navigate to Users > All Users to add Gatekeeper to individual user accounts, and return to this app configuration page to complete SSO configuration.
- In OneLogin, under Gatekeeper app administration, go to the Access tab to assign the OneLogin roles that should have access to the app, and provide any app security policy that you want to apply to the app.
- Log in to OneLogin as the test user.
- Click the app icon on the OneLogin dashboard. If you are able to access the app, then SAML works.
Part 4 - Login to Gatekeeper with OneLogin
- Log out of Gatekeeper.
- On the log in screen, click OneLogin.

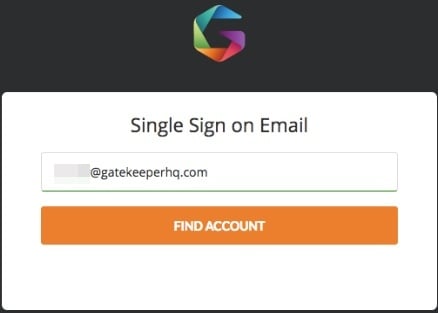
- Enter your email address, then click FIND ACCOUNT.
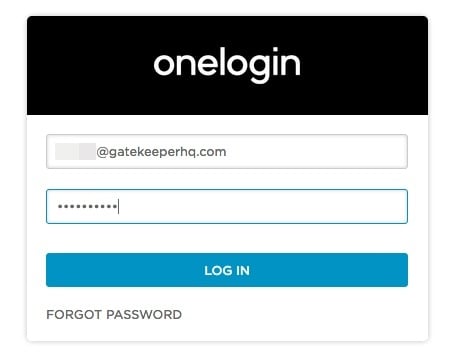
- Enter your OneLogin credentials and click Log In.
You are now logged into your Gatekeeper account.
Part 5 - Restrict Access to Only Allow OneLogin SSO
After testing OneLogin SSO, you can restrict access to only allow OneLogin as a login method. To do this:
- From the navigation menu, expand Settings then click Configuration.
- Click Authentication.
- Select the Require OneLogin Single Sign On (SSO) radio button.
- Enable the Support Access toggle to allow tenant users with the @gatekeeperhq.com domain to bypass your SSO authentication requirements, so that they can assist with any support enquiries related to your tenant. It is strongly recommended to enable this.

- Click Save.
If you restrict your Gatekeeper tenant to only allow login via OneLogin, the other options will remain on the log in screen, but users will not be able to use them. Ensure that all users are aware of the correct login method to avoid access issues.
Note: Access to the Employee Portal and Vendor Portal remain via username and password when SSO authentication is set.