![]() Estimated Read Time: 4 Minutes
Estimated Read Time: 4 Minutes
Sections in this article:
- Access the Navigation Configuration Settings
- Update Navigation Labels
- Enable Dynamic Navigation
- FAQs
Access the Navigation Configuration Settings
You can access settings related to the navigation menu and labels within Configuration:
- From the navigation menu, expand Settings then click Configuration.
- Click Navigation, Charts & Email.
Note: Users require the Administrator role and Configuration additional permission to manage these settings.
Update Navigation Labels
You can change some of the key terms displayed within the navigation menu. This also updates all instances of the corresponding word as it appears throughout Gatekeeper.
- Third Party: used to represent a vendor that provides your organisation with products or services
- Annual Value: used to indicate a monetary worth or value for contracts on an annual basis
- Team: used to associate your organisation's contracts and users with an internal department
- Project: used throughout the interface to associate suppliers and contracts to specific projects
- Category: used to categorise or arrange suppliers and contracts into specific groupings
- Event: used to provide notifications for important dates, reviews, and reminders
- Entity: used to represent the specific legal entity associated with a contract record

To edit one of the available labels:
- Expand the 3 dots on the relevant label, then select Edit.
- Enter the new Translation, and click Save.
Enable Dynamic Navigation
Dynamic navigation allows users to reorder the options within the navigation menu. To turn this on, enable the Dynamic Navigation toggle.
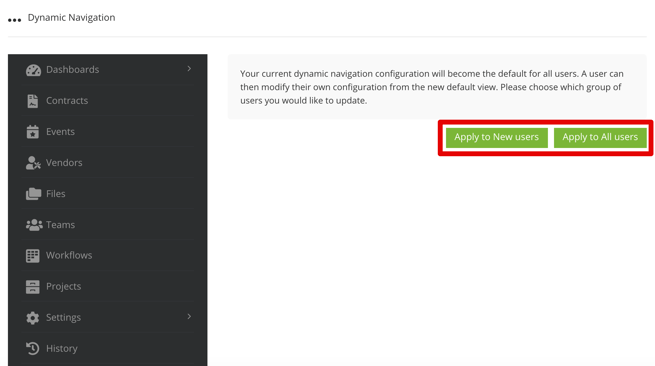
Note: Your current dynamic navigation configuration will become the default for all users. A user can then modify their own configuration from the new default view if desired.
To view fewer navigation items at any time, click the Less option. This will roll up the navigation. Click on More to expand the full menu.
Change Order of Navigation Menu
When dynamic navigation is enabled, each user can change the order of their navigation menu:
- Click the lock icon to unlock the navigation
- Select a menu option and drag it to the desired location
- Click the tick icon to save the changes.
You can restore the default order of the list by clicking the circular arrow icon.
Set Default Navigation For All Users
You can set a default Dynamic Navigation for all users (both new and existing). This helps to simplify the user experience by prioritising the areas of Gatekeeper that are relevant to your team in the navigation menu. Users can still edit this to suit their own personal preference as needed.
Note: Users require the Administrator role and Configuration additional permission to manage these settings.
To set the default navigation for all users:
- Configure your own navigation menu in the way you want all users have it configured by default.
- From the navigation menu, expand Settings then click Configuration.
- Click Navigation, Charts & Email.
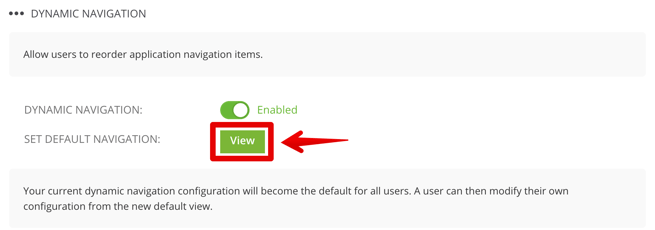
- Click View in the DYNAMIC NAVIGATION section.
- Select the appropriate option.
- Apply to New users: sets the default navigation for new users only. This will only affect newly invited users to the tenant. Users can then modify their configuration.
- Apply to All users: sets the default navigation for all users, both new and existing. This will affect all users, including administrators. Users can then modify their configuration.