
![]() Estimated Read Time: 5 minutes
Estimated Read Time: 5 minutes
Sections in this article:
- Configure Risk Types
- Configure the Risk Matrix
- Enable the Residual Risk Assessment Fields
- Configure Custom Risk Data
Note: Users require the Administrator role and the Configuration additional permission to complete these steps.
Configure Risk Types
The Risk Type field allows you to categorise the risks you add to Gatekeeper. You can customise these options to suit your organisation's needs:
- From the navigation menu, expand Settings, then click Configuration.
- Click Dropdown Lists.
- Click Risk Type. This will display the existing risk types in your tenant
- To manage existing items, expand the 3 dots and select Edit or Delete as required.

- To add a new item, click Add Dropdown Option, then enter a label and click Save.

- To manage existing items, expand the 3 dots and select Edit or Delete as required.
After adding new risk types, they will be available for users to select when adding a new risk.
Configure the Risk Matrix
You can configure the Risk Heat Map on the Risk Dashboard by updating the names of the Impact and Probability labels, as well as the ratings on each axis.
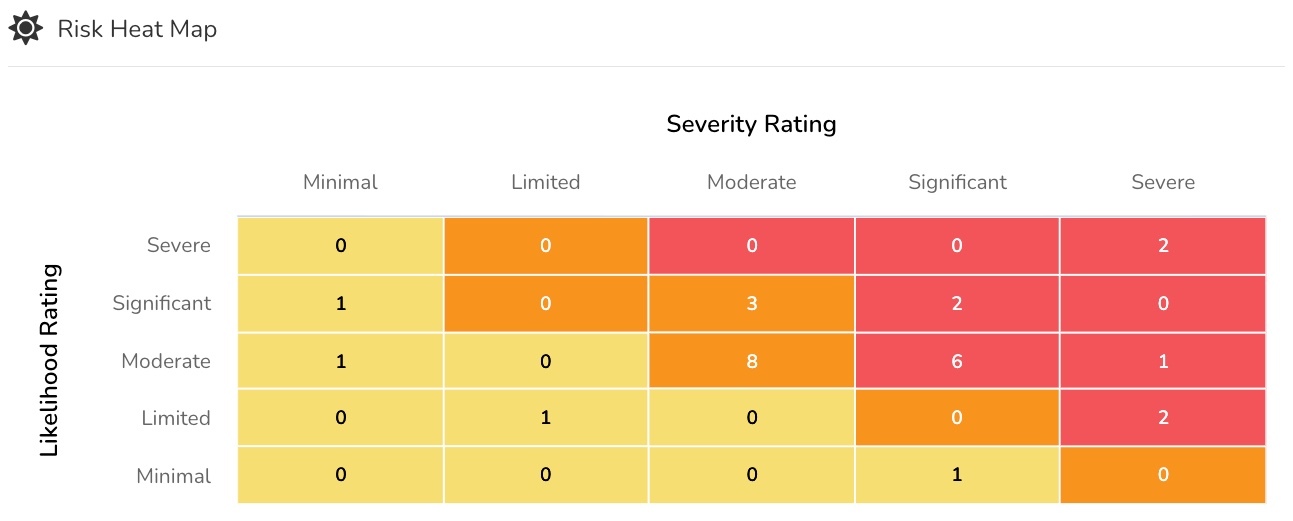
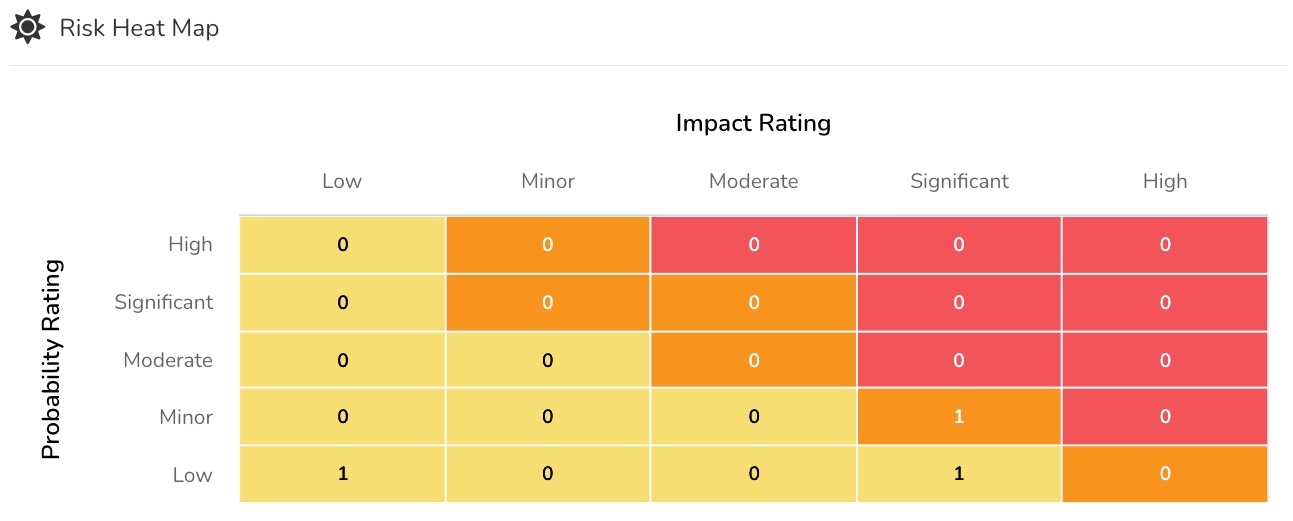
Updating the Impact and Probability labels also updates all instances of the corresponding word throughout Gatekeeper, for example, when adding a new risk.
To configure this:
- From the navigation menu, expand Modules, then click Risk Register.
- Enter the new label for each field. Changes are saved automatically.

Enable the Residual Risk Assessment Fields
You can make Residual Impact and Residual Probability fields available to users when adding risks. These reflect the impact and probability after implementing controls, and will be used to calculate the Risk Score when populated. To add these fields to your data model:
- From the navigation menu, expand Modules, then click Risk Register.
- Enable the toggle next to Residual Risk Assessment.

Configure Custom Risk Data
You can add custom data fields against your risk records to store any additional information that your organisation requires. Custom data is structured using two key concepts: groups and fields.
- A group acts as a top-level category that organises related fields.
- Fields are the specific data points collected within each group.
For example, you could add an Incident & History group to track past incidents, with fields such as:
- Has Incident Occurred? (Yes/No)
- Last Incident Date (Date)
- Incident Description (Multi-line text)
Add a Custom Group
To add a custom group:
- From the navigation menu, expand Settings, then click Configuration.
- Click Custom Data.
- Click Add, then select Add Custom Group.
- Enter a title.
- Select Risk from the Allocated to dropdown list.
- Select the appropriate radio button to configure whether the custom data group will be available on all risk types, or only specific types.
- Complete the optional fields as needed:
- Add a description and select whether to display this to users.
- Select Collapsed by default if you want the group to be minimised when users open a record. Note that users can still expand this section of data if required.
- Select the appropriate checkboxes to configure where the group will be editable.
- Once finished, click Save.
Add Custom Fields
- Open the custom group and click Add New Custom Field.
- Enter a unique label for the field.
- Select the field type.
- Complete the optional fields as needed:
- If available, select the Depends Upon and Selected Value. This allows you to make the field only visible based on a specific selection from a separate Dropdown List or Yes/No field.
- Add a description and select whether to display this to users.
- Enter additional text that will be displayed in a (i) tooltip next to the field
- Enter a URL and link text will be displayed in a (i) tooltip next to the field
- Once finished, click Save.
Once saved, your data field will be available to populate against a risk record:

You can repeat this process until you have created all required fields within the group.
Manage Custom Data Fields
You can edit or delete existing custom data fields:
- Navigate to the Custom Data Configuration area and click on the name of the relevant group.

- Click the pencil icon
 to edit a field.
 - Click the delete icon
 to delete a field.
 - Click the arrow icon
 to re-order fields within the group.
- Click the pencil icon
Note:
- To conserve data integrity, you cannot change the field type.
- Deleting custom fields is permanent and cannot be reversed. By deleting a custom data field, you will also be deleting the associated data for that field on all risk records.
To learn more about custom data in Gatekeeper, see the following articles: