
![]() Estimated Read Time: 5 Minutes
Estimated Read Time: 5 Minutes
![]() Estimated Configuration Time: 20 - 30 Minutes
Estimated Configuration Time: 20 - 30 Minutes
➕ Requires the Vendor Portal
Sections in this article:
- Introduction
- Configuration
- Create a Custom Status Field
- Add the Custom Field to the Vendor Onboarding Workflow
- Configure a Qualifying Question
- Configure an AutoAction to Populate the Custom Field
- Configure Conditional Transitions to the AutoAction Phase
- Create the NDA Workflow Trigger
- Add a Conditional Approval
- Edit AutoAction Values when the NDA is Complete
Introduction
Vendor and contract lifecycle processes such as onboarding, NDA signing, risk assessments, internal approvals and contract negotiations can be time-consuming, especially when completed in sequence.
However, AutoActions and automated triggers allow you to run these processes in parallel. This reduces lead times by minimising manual intervention and bypassing bottlenecks caused by multiple stakeholders or compliance steps.
The Use Case - Vendor Onboarding and Automated NDA
Including an NDA as part of vendor onboarding helps protect intellectual property, sets a professional tone early in the relationship, gives Legal teams early visibility, and familiarises vendors with Gatekeeper.
However, getting an NDA in place may delay other onboarding tasks. Therefore, this article shows how to automate NDA setup alongside risk, due diligence, and onboarding tasks to avoid bottlenecks.
Diagram
In summary, this article will show you how to configure a workflow that achieves the following process:
- When submitting a vendor onboarding form, the user will have to provide a response to Does this vendor require an NDA?
- If the response is yes, a new card is automatically created in the automated NDA workflow.
- An NDA is generated and sent to the vendor contact for e-signature.
- Once the NDA is signed, the vendor will have their NDA status updated to Executed.
- Before the vendor can successfully complete the onboarding workflow, a review is required to check:
- All required onboarding tasks are complete.
- The NDA has been executed.
- If the vendor meets these requirements and is approved, they will progress to Vendor Onboarded. Their status updates to Live and Approved, with the NDA status flagged as in place.
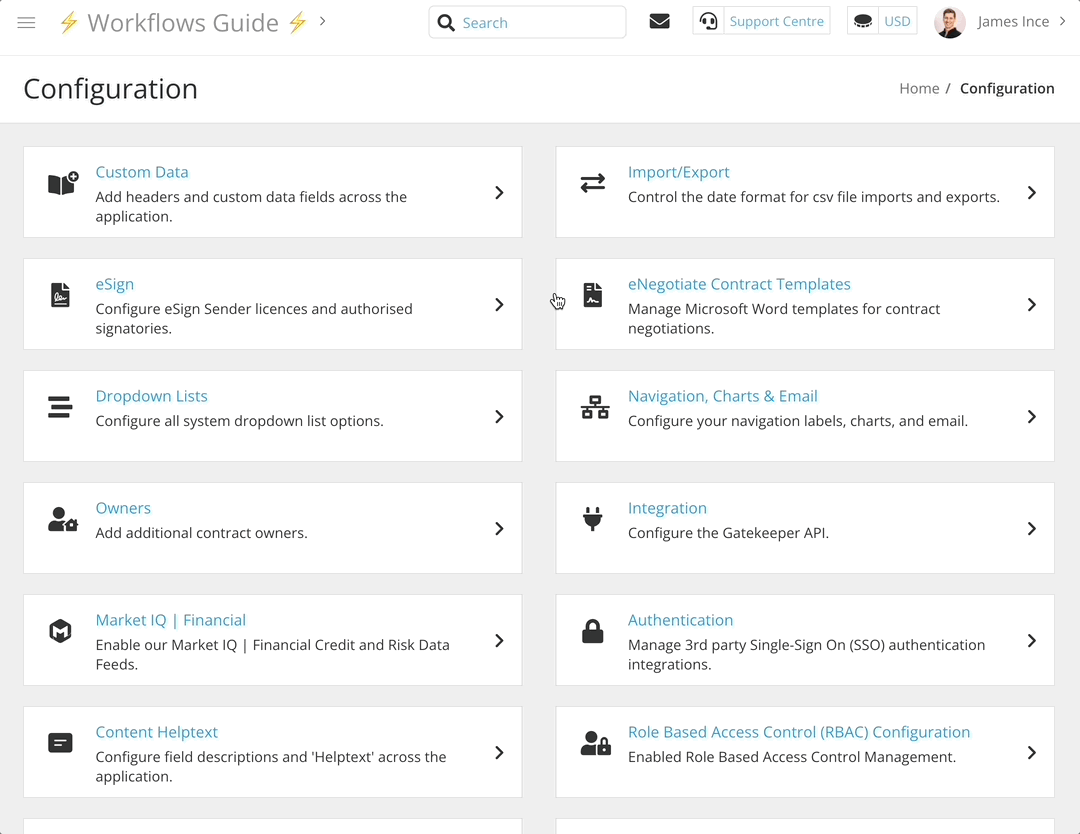
🛠 Configuration 🛠
The steps below will walk through how to configure your vendor onboarding and automated NDA workflows to run in parallel. If you do not already have these workflows set up, see the Vendor Onboarding and Touchless NDA best practice templates.
Create a Custom Status Field
Creating a custom status field is required to enable vendor records to be automatically pulled onto the automated NDA workflow.
- From the navigation menu, expand the Settings option, then click Configuration.
- Click Custom Data.
- Click an existing Vendor Custom Data Group or add a new one to store this field in. If you're planning to run more contract and vendor management processes in parallel, consider adding a custom data group named Legal & Compliance to store all related statuses.
- Within the custom group, click➕ Add New Custom Field.
- Enter a label for the field, e.g. NDA Status, and select Dropdown list as the type.
- Add the following dropdown options then click Save.
- N/A
- NDA Expired 📆
- NDA In Place ✅
- NDA Required ⚠️
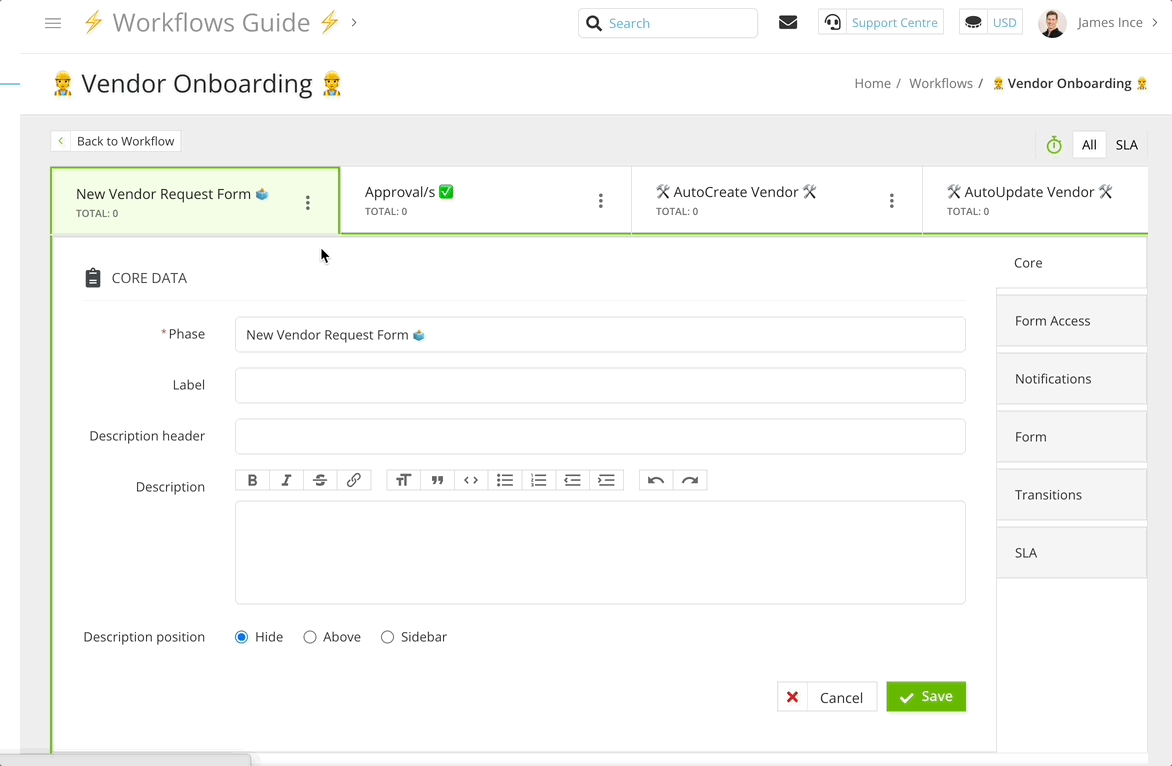
Add the Custom Field to the Vendor Onboarding Workflow
Next, you'll need to add the status field to the vendor onboarding workflow form.
- Click the start phase of the workflow to edit it.
- Navigate to Form, then click ADD SECTION and enter a section name.
- Select the following from the dropdown lists:
- Predefined: Vendor
- Custom Data Group: The custom group that contains the NDA Status field.
- Click Save.
Note: If the custom data group has already been added as a form section, Gatekeeper will automatically add the NDA Status field.
You should then hide this field on the workflow form, so that users cannot update it manually. To do this:
- Click the cog icon to access the workflow configuration.
- Locate the form section that contains the NDA Status field.
- Select Hidden from the dropdown list on the start phase, then click the copy icon.
- Select the checkboxes for all other phases in the workflow. This will apply the settings for this section from the start phase to all other phases.
- Click Copy to save the changes.
Configure a Qualifying Question
If an NDA is not required for every new vendor, you can add a form field to capture this. The response will determine whether the NDA workflow is triggered.
If you plan to qualify the vendors who require NDAs using an existing form field (for example Vendor Type), or you will require NDAs for all vendors, you can skip the steps in this section.
- Click the start phase of the workflow to edit it.
- Navigate to Form, then click ADD FIELD.
- Configure the settings, for example
- Label: Will this vendor have access to sensitive data (personal or otherwise)?
- Type: Yes/No
- Click Save.
Configure an AutoAction to Populate the Custom Field
After adding the qualifying question, you can add an AutoAction to update the NDA Status field depending on the response. For example, if the question is Will this vendor have access to sensitive data (personal or otherwise)?, the AutoAction sets the NDA Status to NDA Required ⚠️ when the response is Yes.
- On the vendor onboarding workflow, click Add to create a new phase.
- Enter a name e.g. 🛠 AutoCreate Vendor | NDA Needed 🛠, then click Save & Next.
- From Actions, select the AutoAction | Create Vendor checkbox.
- Click Edit AutoAction Values and configure the values that will be used to create new vendor records.
- For the NDA Status custom field, deselect the Take Value from Form checkbox, then select NDA Required ⚠️ and click Save.
- From Transitions, select the radio button for the next phase in the workflow.
- Click Back to Workflow, then click Reorder
 to position this phase where you wish the NDA process to start. This is generally next to the original AutoCreate Vendor phase.
Note: If you require NDAs for all vendors, edit the AutoAction values on the existing AutoCreate Vendor phase. For the NDA Status custom field, deselect the Take Value from Form checkbox, then select NDA Required ⚠️ .
Configure Conditional Transitions to the AutoAction Phase
You'll now need to configure the transitions of the preceding phase to ensure that only vendors who require an NDA will be routed to the AutoAction phase.
- Click to edit the phase before the standard Create Vendor phase.
- From Transitions, select the Conditional radio button.
- Click ➕ ADD TRANSITION
- Enter a name e.g. Approved | NDA Needed then click Create.
- Click the pencil icon next to Transition to Phase and select the radio button for the AutoCreate Vendor | NDA Needed phase.
- Click Add to create the following conditions:
- Card Submission OR Approval Status equal to Approved
- The qualifying question field or other form field is set to a response that requires an NDA e.g. Will this vendor have access to sensitive data (personal or otherwise)? is one of Yes.
- Click the pencil icon next to Transition Status and select Live, then click Update.
- Click Back, then click REORDER TRANSITIONS and position the new transition at the top of the list. Once finished, click Update.
Create the NDA Workflow Trigger
Once the vendor onboarding workflow has been fully configured to update the custom NDA Status field, you can add a trigger to the NDA workflow using this field.
- From the navigation menu, click Workflows.
- Expand the 3 dots on the NDA workflow, then select Workflow Triggers.
- Click➕Add Trigger, then enter a name (e.g., New Vendor Onboarding | NDA Required) and click Create.
- Under Conditions, click ➕Add then locate the newly created custom NDA Status field.
- Configure the condition, for example NDA Status is one of NDA Required ⚠️, then click Create.
- Click the pencil icon to set the Trigger Status to Live.
Add a Conditional Approval
To confirm the NDA has been signed is complete, add an approval at the end of the vendor onboarding workflow before the Done phase. This can be handled by a central vendor management user or team.
- From the vendor onboarding workflow, click the final approval phase to edit it.
- From Approval, ensure that the Enabled and Parallel radio buttons are selected.
- If you currently have Simple enabled, navigate to Form Access to check who is responsible for this phase, then add them as a parallel approver first.
- Click➕ ADD NEW PARALLEL APPROVAL.
- Select the required users or groups, then select the Conditional radio button and click Save. Usually this would be the main Gatekeeper admin, or the Vendor Management/Procurement team.
- Click➕ ADD to assign the following condition:
- NDA Status is one of NDA Required.
If you do not have a final approvals phase:
- Add a new phase to the workflow.
- Enable approvals, then configure the settings in Form Access, Notifications and Transitions accordingly.
- Reorder the phase into the correct position.
- Add a conditional transition to the preceding phase to repoint any vendors that require an NDA to this phase, while vendors who have already completed an NDA will bypass it.
Edit AutoAction Values when the NDA is Complete
Finally, you can configure the NDA workflow to automatically update the values for the NDA Status on the vendor record.
- Click to edit the Done phase.
- From Actions tab, select the AutoAction | Update Vendor checkbox.
- Click Edit AutoAction Values, then ensure that the Take Value from Form checkbox is selected for all fields except for NDA Status, which should be set to NDA In Place ✅ .
Reverse the Process: NDA Before Vendor Onboarding
If your process requires an NDA to be signed first, Gatekeeper can support this by reversing the order and triggering a vendor onboarding as part of the initial NDA workflow.
Diagram
Connect the Workflow Processes
To connect the NDA workflow with the vendor onboarding workflow, on the Done phase of your Touchless NDA Workflow, enable AutoAction | Update Vendor with some values hardcoded so they can be used to trigger the next workflow process. For example, Vendor / Status is Live or Vendor / Approval is Awaiting Approval. Then, create a trigger for the vendor onboarding workflow using the hardcoded status values set in the AutoAction.
Configure Notifications
If you want to allow vendor onboarding requests via an Employee Portal form, leave the Authenticated Form checkbox enabled.
Instead of notifying the vendor owner at the start of the vendor onboarding workflow, consider triggering the notification in the Done phase of the NDA workflow instead, and include a hyperlink to your vendor onboarding form.
To copy the example notification content, click to expand the section below:
FAQ 💬
Q: Does this process have to be used with NDAs?
A: This can be used for any standardised agreements (e.g. Terms of Service, Code of Conduct, DPAs) or separate risk reviews like ESG Assessments.
Additional Reading 📚
- ⚡️ Gatekeeper Expert - Contract Request and Vendor Onboarding Workflows - Discover how to automate onboarding forms for contract requests with new vendors.
- 🛠 Create Your Own - Vendor Onboarding Workflow - Discover how to add and configure our suggested Best Practice workflow for onboarding new vendors.
- 🛠 Create Your Own - Touchless NDA - Discover how to add and configure our template workflow for a self-serve NDA Request workflow you can share with prospective vendors.