
 Estimated Read Time: 4 Minutes
Sections in this article:
Edit the Default Invitation Message
User invitation messages are the emails sent to new users when they are granted access to Gatekeeper. You can customise the default message to suit your organisation's requirements.
Note: Users must be Global Administrators with the Configuration additional permission to configure the invitation message.
To customise the invitation message:
- From the navigation menu, expand Settings, then click Configuration.
- Click Navigation, Charts & Emails
- Scroll to the User Invitation Message section.
- Enter the desired wording, and click Save Message.
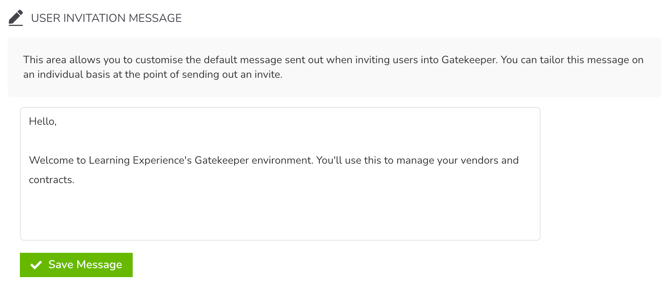
The template will be pre-populated in the message area when inviting users, and can be amended on an individual basis before sending. When bulk inviting users, they will automatically receive the template.
Note: This template only applies to internal users. To customise the invitation message for Vendor Portal users, see Configure the Vendor Portal.
Edit the Email From Name
By default, outgoing notification emails are sent from Gatekeeper. You can customise this to include your organisation's name instead. To customise the Email From name:
- From the navigation menu, expand Settings, then click Configuration.
- Click Navigation, Charts & Emails
- Scroll to the Email 'From' Name section.
- Enter the desired name, and click Save.
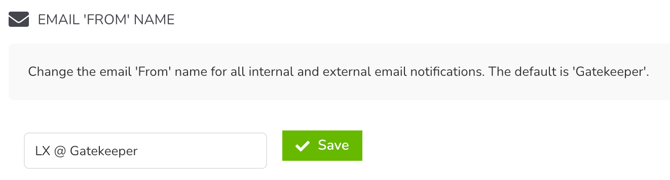
Note: You cannot amend the sending email address itself.