![]() Estimated Read Time: 5 Minutes
Estimated Read Time: 5 Minutes
Sections in this article:
- What is a Message?
- Where is Messaging Used?
- Send Internal and External Messages
- Receiving and Responding to Messages
- Add or Remove Message Recipients
What is a Message?
Messages in Gatekeeper enable collaboration between both internal colleagues as well as external vendors. You can configure the recipients, subject line, message text, and attachments. Messages are received both as an email and within Gatekeeper's notification centre. Messages received via email can simply be replied to without needed to log in to Gatekeeper, and will still appear within the message thread in Gatekeeper.
This enables collaboration in Gatekeeper and keeps everything in one place, while maintaining a full audit history.
Where is Messaging Used?
Messages can be used within:
- Workflows
- Vendor Portal
- Employee Portal
- Contracts
- Vendors
- Projects
- Events
Note: See Workflow Messaging for examples of how messaging can support collaboration and improve efficiency in workflows.
Send Internal and External Messages
- From the navigation menu, click the relevant option (for example expand Vault then click Vendors, Contracts, or Projects) depending on where you want to send the message.
- Open the record that you'd like to add a message to.
- Click Add, then select New Message.

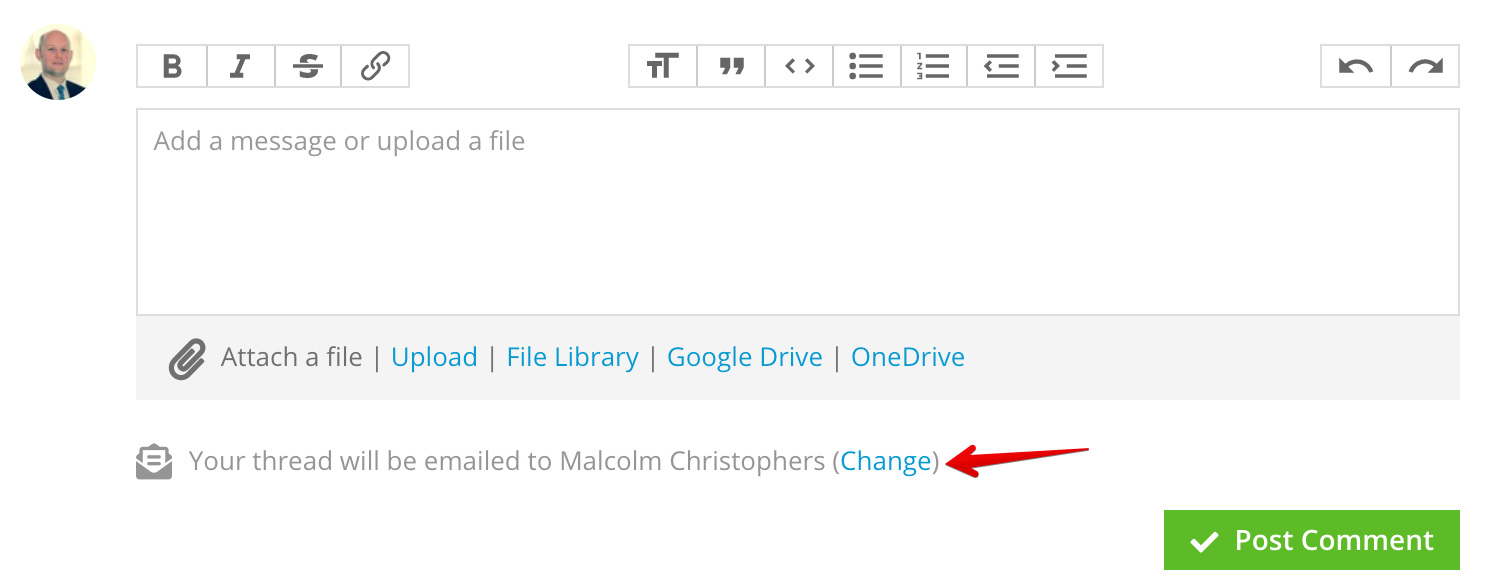
- Complete the fields as required:
- Add the subject
- Enter a message, and to tag other users, enter an @ then select the user from the list.
- Upload attachments
- Select additional recipients from the dropdown list
- Once finished, click Post Message.

Note: Vendor recipients have an External label to distinguish them from internal recipients. When including vendor recipients, a warning message will appear to ensure they were not added in error.
Post a Message as a Note
The messaging feature can be used to make a note against a vendor, contract, project or workflow form. To do this:
- Add a new message.
- Ensure no recipients are selected.
- Select the Don’t email anyone, just post the message to Gatekeeper checkbox.

- Click Post Message.
Add an Attachment
There are various options available to for adding attachments to messages:

After uploading a new file or adding one from Google Drive/OneDrive, they will automatically display in the Files tab of the associated vendor, contract, or project record. See Add and Manage Files for further information on uploading documents to Gatekeeper.
Upload
Click Upload to locate and add an attachment directly from your device.
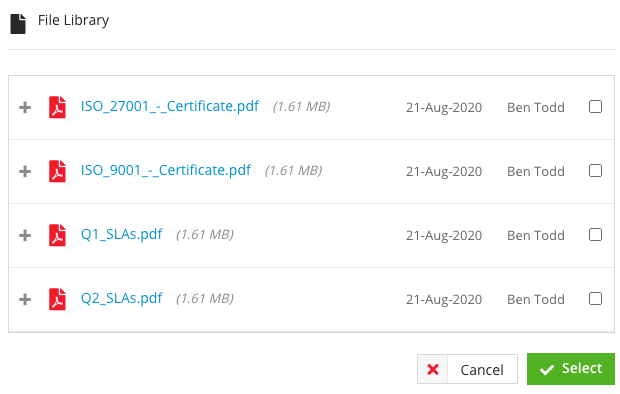
File Library
Click File Library to open the library of files already uploaded to Gatekeeper. Select the checkboxes of the file(s) you'd like to attach, then click Select to add them to the message.
Google Drive
Click Google Drive to locate and add an attachment directly from your Google Drive.
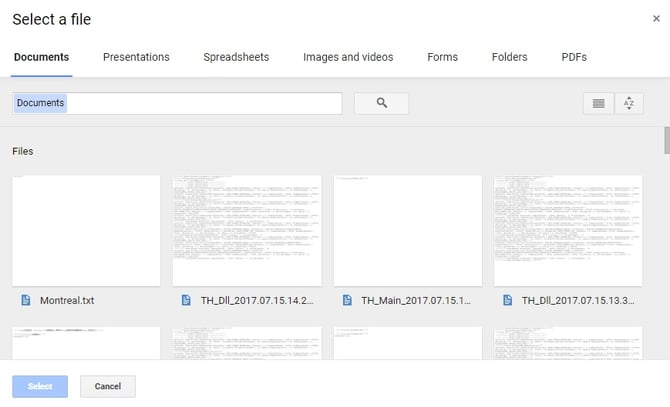
Note: If this is the first time adding an attachment from Google Drive, you may be required to sign in and/or allow Gatekeeper access to your drive.
OneDrive
Click OneDrive to locate and add an attachment directly from your Microsoft OneDrive.-2.png?width=670&name=image%20(3)-2.png)
Note: If this is the first time adding an attachment from OneDrive, you may be required to sign in and/or allow Gatekeeper access to your drive.
View and Respond to Messages
Messages are received via email and, for Gatekeeper users, also appear as notifications within Gatekeeper. Click the link to view and respond within the message thread.

When you receive a message via email, you can reply directly like any other email, or click the link to view and respond in Gatekeeper.

Add or Remove Message Recipients
To change the recipients on a message thread,
- Navigate to the message thread.
- Click Change, then add/remove recipients as required
- Enter a message then click Post Comment.