
![]() Estimated Read Time: 8 Minutes
Estimated Read Time: 8 Minutes
Sections in this article:
Note: To configure custom data, you must be a Global Administrator with the Configuration additional permission. See User Role and Permission Definitions for further details.
What are Custom Data Groups?
Custom data refers to any type of data that is unique to your business, and does not fall under our Core Data Model, therefore requiring additional fields. Whether you're tracking materiality assessments, information security, or other critical metrics, custom data gives you the flexibility and control to manage data in a way that works best for you.
Watch the video tutorial below or read the steps in this article to learn more:
What Records Can I Create Custom Data Against?
You can create custom data for:
- Contracts
- Vendors
- Users
- Projects
- Spend
- Risk
How are Custom Data Groups Structured?
Custom data groups are structured as follows:
- A group acts as a top-level category that organises related fields.
- Fields are the specific data points collected within each group.

When creating custom data, the group is created first, then the fields are added to the group.
Note: Custom data fields can be reordered within the group.
Available Field Types
The table below details the field types available in Gatekeeper. For examples of these, see Field Types for Custom Data.
| Field Type | Field Description |
| Single line text | Enter up to 255 characters. |
| Multi-line text | Enter up to 20,000 characters with rich text formatting. |
| Integer | Enter whole numbers only (e.g. 0, 100, -1). |
| Floating-point | Enter decimal numbers (e.g. 0.54, 100.12, -1.2). |
| % Percentage | Enter a percentage value (e.g. 99.9%). |
| Date | Select a date from a calendar picker (e.g. 31-Dec-2022). |
| Yes/No | Select Yes or No from a dropdown list. |
| Attached File | Upload a file. |
| Attached file with Expiry Date | Upload a file and set an expiry date. |
| Monetary | Enter an amount with currency (e.g. 1000.00 GBP, 500 USD). |
| Postal Address | Enter address details across multiple fields. |
| Country | Select a country from a dropdown list. |
| Website URL | Enter a URL. The value displays as a clickable link. |
| Vendor | Select an existing vendor record from a dropdown list. |
| Category | Select an existing category record from a dropdown list. |
| Team | Select an existing team record from a dropdown list. |
| Entity | Select an existing entity record from a dropdown list. |
| Dropdown list | Select one value from a predefined list. |
| Multi-pick Dropdown list | Select one or more values from a predefined list. |
Examples of Custom Data Groups
Expand the section below to view some examples of how custom data can be used within Gatekeeper:
Configure Custom Data
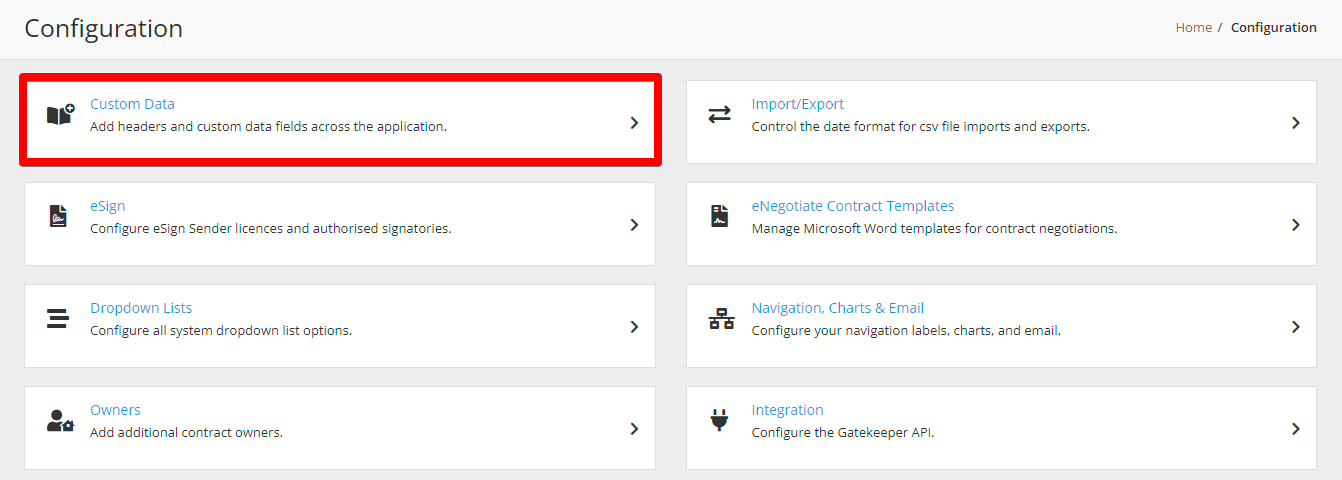
- From the navigation menu, expand the Settings option, then click Configuration.
- Click Custom Data.
From here, you can view existing groups or add new ones.
Create a Custom Data Group
- Click Add, then select Custom Group.
- Enter a title.
- Select the relevant record type from the Allocated to dropdown list, e.g. Vendor or Contract.
- Select the appropriate radio button to configure whether the custom data group will be available on all record types, or only specific types (for example, you may have custom data that is specific to the NDA contract type).
- Complete the optional fields as needed:
- Add a description and select whether to display this to users.
- Select Collapsed by default if you want the group to be minimised when users open a record. Note that users can still expand this section of data if required.
- Select Mark as Sensitive to restrict user access to this group. See Sensitive Data for further details.
- Select the appropriate checkboxes to configure where the group will be editable.
- Once finished, click Save.

Create Custom Data Fields
Once your custom data group has been created, you can create fields within that group. To do this:
- Open the custom group and click Add New Custom Field.
- Enter a unique label for the field.
- Select the field type.
- Complete the optional fields as needed:
- If available, select the Depends Upon and Selected Value. This allows you to make the field only visible based on a specific selection from a separate Dropdown List or Yes/No field.
- If available, select the Extract Data checkbox to configure LuminIQ to extract this custom data field. See LuminIQ - Custom Data Extraction for further details.
- Add a description and select whether to display this to users.
- Enter additional text that will be displayed in a (i) tooltip next to the field
- Enter a URL and link text will be displayed in a (i) tooltip next to the field
- Once finished, click Save.
Depends Upon
If you create a Dropdown List or Yes/No field within a group, you can make other fields appear based on the selected answer. This is done using the Depends Upon - Selected Value option.
For example, if you have a Yes/No field asking "Is the vendor ISO certified?", you can set additional fields to appear only if the answer is Yes, e.g. "Certification Expiry Date".
The example below shows how this appears to end users:
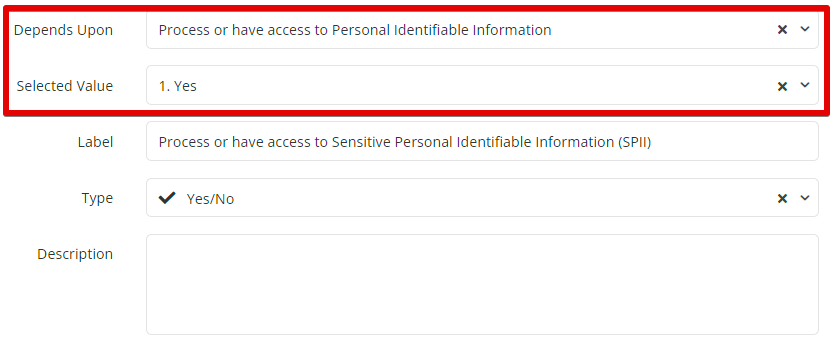
- Depends Upon - Select which of the existing Dropdown List or Yes/No fields within the group will control when the new field appears.
- Selected Value - This determines what the response must be for the new field to become visible.
In the example below, the newly created field of 'Sensitive Personal Identifiable Information (SPII)' can only display when the answer to 'Process or have access to Personal Identifiable Information = Yes'
Once you have configured the data fields, you can view any dependencies in the details table: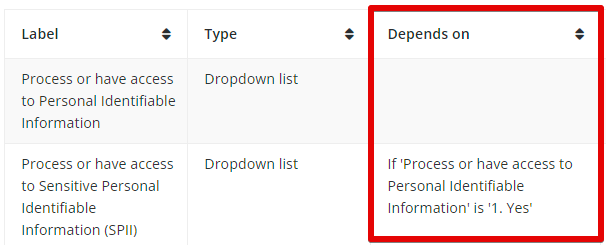
Note: The Depends On functionality can only be used when you have an existing Dropdown List or Yes/No field within the custom data group.
Edit Existing Custom Data Fields
To make changes to custom data fields:
- Navigate to the Custom Data configuration area and click the name of the relevant group.

- Click the pencil icon to edit the relevant field. Amend the information as required.
-
When changing the label, if those field labels should also be updated within the workflow, select the Rename field generated for X workflow checkbox. This only appears if the field is enabled within a workflow.
- To add new values to Dropdown or Multi-select Dropdown field types, click the link next to Options, then Add Dropdown Option.
-

Note: To conserve data integrity, you cannot change the field type.