
![]() Estimated Read Time: 12 minutes
Estimated Read Time: 12 minutes
![]() Estimated Configuration Time: 25 - 60 Minutes
Estimated Configuration Time: 25 - 60 Minutes
Sections in this article:
- Introduction
- Demonstration
- Workflow Diagram
- 🛠 Mandatory Configuration Steps 🛠
- 🛠 Additional Configuration Steps 🛠
- Additional Setup Outside the Workflow
- ⚡️ Getting Started - Activate the Triggers⚡️
- Additional Reading
Introduction
By automating your contract renewal process, you can save time and resources, reduce manual errors, enhance accuracy, and minimise compliance and operational risks.
This workflow can be configured to automatically initiate reviews well in advance of key renewal periods, ensuring that all renewal tasks are completed on schedule and in compliance with your regulations and policies. It also provides stakeholders with the necessary lead time to negotiate more favourable terms, uncover opportunities for cost savings, and optimise contract performance.
Like other Gatekeeper workflows, this will also provide real-time visibility into the status of contracts, enabling you to make informed decisions about renewals, renegotiations, and terminations.
Walkthrough Demonstration
See the below video for a walkthrough of the Contract Renewal Review Workflow:
🛠 Mandatory Configuration 🛠
The steps in this section outline the essential setup required to make your workflow fully functional. By completing the configuration steps below, you’ll have a fully operational end-to-end contract renewal workflow, ready to automate reviews and approvals around key contract dates. See the demonstration video or follow the steps below to learn more:
The ⬇️ Additional Configuration ⬇️ section covers optional additions to expand the scope of your process or tailor the workflow to better align with your organisation’s unique policies, procedures, and Gatekeeper subscription features.
Add the Template
To get started, you'll need to add the template workflow:
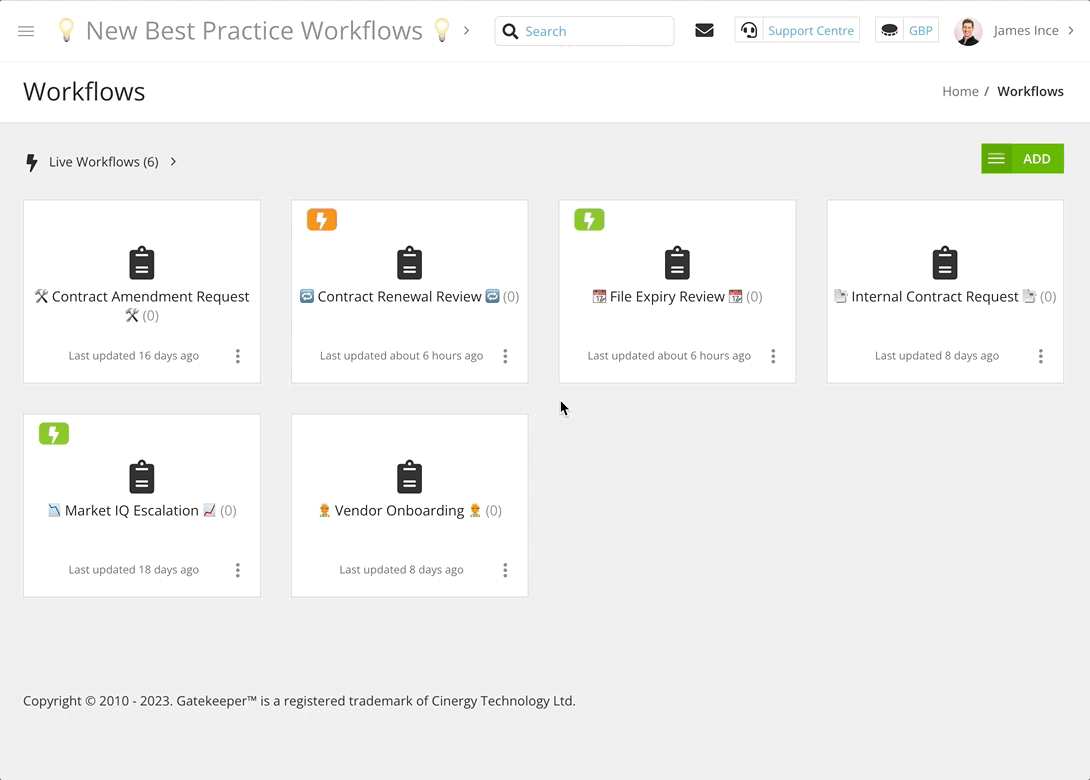
- From the navigation menu, click Workflows.
- Click Add, then select Workflow Template.
- Click Create on the Contract Renewal Review template.
- Amend the title if needed, then click Create.
Assign Phase Owners
The contract renewal workflow includes several key phases that align with stages in a typical contract lifecycle. Configure owners for each of the phases in the table based on how responsibilities are typically assigned within your organisation:
|
Phase |
Owner Responsibility |
Default Owner |
| Optional Configuration Updates | ||
| Late Response Escalation | Provide a renewal decision if the original contract owner misses their SLA deadline. | Team Owner |
|
Required Configuration Updates |
||
| Approvals |
Provide the approval for the contract renewal/termination decision |
None |
| Terminate Current Agreement |
Carry out termination tasks, such as updating contract statuses/dates in Gatekeeper as well as real-world actions like serving written notice to the vendor. |
None |
| Finalise Renewal/Extension | Complete extension actions like updating statuses/dates, sending extension letters for eSign, or raising new POs. | None |
To assign owners:
- Click on a phase where the owner needs configuring to edit it.
- From Form Access, select the relevant radio button to determine how ownership is assigned.

Repeat these steps until owners have been assigned for all the phases outlined in the table.
Note: If you have not yet created the workflow groups responsible for performing these actions, see Create Workflow Group/s before assigning phase owners. Once the groups are set up, return here to continue.
Configure Hyperlink in ✉️ Renewal Notification ✉️
During contract renewal, some agreements may contain outdated or suboptimal terms, especially when they've remained unchanged over long periods. To manage this effectively, the Renewal Form includes two options:
- Renew: For contracts that require a full renegotiation and the signing of updated terms.
- Extend: For minor changes only, such as:
- Sending an extension letter for signature
- Raising a new purchase order
- Updating key contract dates in metadata
While extensions are straightforward, renewals that involve significant changes are better handled via a dedicated New Contract Request workflow. This allows the contract to be treated with the appropriate level of due diligence, review, and approval.
To streamline the process and guide stakeholders clearly, it's best to include a direct link to the New Contract Request form in the Renewal Notification email. This helps ensure that contracts requiring deeper review are routed through the appropriate workflow. To do this:
- Copy the URL for the separate Contract Request workflow form.
.png?width=670&height=311&name=copy%20address%20(1).png)
- Navigate to the Contract Renewal workflow.
- Click the ✉️ RENEWAL NOTIFICATION ✉️ phase to edit it.
- From Notifications, click the
pencil icon for the email template of the Card Owner notification.
- Replace LINK HERE with the relevant URL.

- Click Update.
🛠 Additional Configuration 🛠
This section covers optional steps to adjust the workflow’s scope or default settings, helping you tailor it to your organisation’s needs.
Use the Clone Action for Extensions
The default configuration for this workflow supports two renewal paths:
- Extensions: For straightforward cases where the contract continues with minimal changes.
Updates the existing record to reflect the new term. - Renewals: For contracts requiring significant revisions or renegotiation.
Archives the current record and instructs users to request a new agreement via the New Contract Request Form.
For extensions, you may prefer to clone the existing contract. This creates a new, linked version in your repository, making it easier to track changes over time and monitor historical spend with the vendor. To configure this:
- Add a new Archive Workflow phase to the workflow and re-order it to the relevant position.
- Click the new phase to edit it and from Actions, select the AutoAction | Update Contract checkbox.
- Select the Submit Card on Action checkbox.
- Click Edit AutoAction Values.
- Select Archived as the Status, then enter a default value for Has End Date? and select the associated checkbox.
- Click Save.
- Add a new Clone Contract phase to the workflow and re-order it to the relevant position.
- Click the new phase to edit it and from Actions, select the Clone Contract checkbox.
- Select the Submit Card on Action and Update Form on Action checkboxes.
- Complete the configuration for this phase by adding a description, assigning an owner, configuring the transition, configuring the form visibility, and enabling notifications.
- Return to the earlier phase in the workflow to redirect the Approved:Extend transition to your new AutoAction phase.
Configure Approvals
If required, you can configure the Approvals ✅ phase to assign multiple approvers or conditional approvers. If your process only requires a single approval and you've already assigned the appropriate user or group in the Assign Phase Owners step, you can skip this section.
Option 1 - Multiple (Parallel) Approvals 
- Click the Approvals ✅ phase to edit it.
- From Approval, select the Parallel radio button.

- Select the required users/groups then click Save. All selected users/groups must approve for the contract to progress past this phase.

Option 2 - Conditional Approvals 
- Click the Approvals ✅ phase to edit it.
- From Approval, select the Parallel radio button.
- Select the required users/groups, then select the Conditional radio button and click Save.
- Click ➕ ADD to assign conditions for the selected user/group to require approval.
- Click Add New Parallel Approval and repeat steps 3 - 6 until all conditional approvers are set.

Gatekeeper will evaluate each rule and apply the relevant approvers when the workflow card meets the defined conditions.
Note: When using conditional approvals, make sure at least one group will always be assigned. This prevents forms from being missed or delayed. You can achieve this by:
-
Carefully setting your conditions, or
-
Including an Always Active approval alongside your conditional ones.
Create Workflow Groups
Workflow groups are custom groups of users used across workflow configuration, ideal for when ownership doesn’t align with a team but you want to avoid assigning users individually. For example, a contract renewal workflow may require the following groups:
- Procurement/Vendor Management Team - to provide insights and approvals related to budgeting and alignment with strategic goals.
- Legal/Contract Management Team - to oversee legal reviews and facilitate any required legal actions.
- From the navigation menu, expand Settings then click Users.
- Click Add then select Workflow Group.

- Enter a title and, if useful, an optional description, then click Save.
- Expand the 3 dots on the newly created group, then select Edit.

- Click Add Member.

- Select the user from the dropdown list then click Save.
- Repeat steps 5-6 until all group members have been added.
Amend Email Notifications
To ensure alignment with internal processes, it's useful to update the notification email content to reflect any specific context or actions required by your organisation’s renewal procedures. To do this:
- Click to edit the phase where you want to amend notifications.
- From Notifications, enable the relevant toggles to determine who will receive email notifications.

- Click the
-
Add any additional context needed for your review process.

-
Click Update and repeat for all email templates.
Amend Triggers
There are three triggers created by default for this workflow. You can amend or remove these as needed to better align with your organisation’s review procedures and timelines.
- Notice Date Approaching: Triggers 90 days in advance of a Notice Period. This provides approximately 30 days to decide on renewal, renegotiation, or termination, and take the necessary action.
- End Date Approaching: Triggers 90 days in advance of a contract's End Date. This provides an additional buffer to conduct internal reviews and prepare for renewal, renegotiation, or termination before the contract auto-renews.
- Evergreen Annual Review: For indefinite contracts where the End Date is set to Evergreen, initiates an annual review 30 days before each anniversary of the contract’s Start Date.
It's possible to keep all three triggers active simultaneously, however each trigger operates independently. This means a contract record could be picked up by more than one, resulting in duplicate cards. If your process does not require the Notice Period trigger, you could delete it to avoid this scenario.
Alternatively, use a custom field as a flag, and update it with an AutoAction when the first card is created. Then, add a condition to all other triggers to exclude records where that field has been set.
To configure triggers:
- From the navigation menu, click Workflows.
- Expand the 3 dots on the relevant workflow, then select Workflow Triggers.
- Click ➕ ADD TRIGGER to create additional triggers. For example you may want to review contracts with a high value further in advance than the standard triggers.
- If any default triggers aren’t relevant to your process, click the
 Delete icon to remove them.
- To amend the existing triggers, click the name of the trigger you want to edit, then configure any necessary amendments:
- Click the
 pencil icon to amend a condition's parameters.
 - Click the delete icon to remove a condition
- Click ➕ ADD to create additional conditions
- Click the
Note:
- This workflow uses the Occurs in trigger, which matches contracts on the exact number of days specified. Occurs in less than or equal to would match contracts on that date and any prior date. This would mean that when you first enable triggers, older contracts within the threshold would be added to your Kanban board and create unnecessary admin work.
-
If you’re concerned that some contracts may contain outdated metadata, the Contract Amendment Request workflow gives users a structured way to notify Gatekeeper admins of key contract updates.
Add Custom Metadata
If you have created custom contract metadata, you can add it to the workflow form so that:
- Users can view all relevant contract information and make fully informed decisions
- Key data can be updated directly through the workflow
To do this:
- Click on the start phase of the workflow to edit it.
- Navigate to Form, then click ADD SECTION and enter a section name.
- Select the following from the dropdown lists:
- Predefined: Contract
- Custom Data Group: The custom group you want to add.
- Click Save.
Add Form Sections
You may want to add sections to the form. For example, if you have additional users who need to provide input or upload attachments during the process, you can add a dedicated section for them to complete.
- Click on the start phase of the workflow to edit it.
- Navigate to Form, then click ADD SECTION and enter a section name.
- Use the following options to edit the fields included in the section:
- Click + ADD FIELD to add new form fields.
- Expand the 3 dots then click the
 pencil icon to edit existing fields.
 - Expand the 3 dots then click the delete icon to remove existing fields.

Amend Section Visibility
Once you add a form section, it will be Editable by default in the current phase, and Read Only in all other phases. You can adjust this for specific phases of the workflow if needed:
- Click the settings icon to access the Configuration View.

- To set the section visibility, hover over the relevant section box and select from the dropdown list.

- To set the field visibility:
- Hover over the section box and select the appropriate checkbox to apply the visibility to all fields within the section.
- Hover over an individual field box and select from the dropdown list to apply the visibility to fields one-by-one
- To copy a section/field visibility settings to other phases, click the copy icon. Then, select the checkboxes to determine which phases you want to copy the settings to, and click Copy.

Add Local Workflow Collaborators and Administrators
In addition to phase stakeholders and Workflow Admins, you may want to assign certain users as Local Workflow Administrators / Collaborators. These users will have full visibility of all cards on this specific workflow. To manage this:
- From the navigation menu, click Workflows.
- Expand the 3 dots on the relevant workflow, then select Local Workflow Authorisation.
- Click Add, then select New Workflow Administrator or New Workflow Collaborator.
- Select a user then click Save.
Additional Setup Outside the Workflow
If you’ve followed all of the steps above, your workflow is nearly ready to launch. However, to help the process run as smoothly and reliably as possible, there are a few additional areas of your Gatekeeper tenant worth reviewing.
Populate Key Contract Data
Before launching your workflow, make sure key contract data is complete:
- Internal Owners: used by Gatekeeper to assign the appropriate stakeholders and decision makers throughout the workflow.
- Contract Dates: missing dates such as the End Date or Notice Period Date, key expiration and auto-renewal milestones can be missed. These dates also drive many dashboards and reports across Gatekeeper, so incomplete metadata will impact more than just your workflow performance.
To do this manually:
- From the navigation menu, click Vault > Contracts.
- Expand the 3 dots on the relevant contract, then select Edit.
- From the Contract Dates section, populate the key dates then click Save & Next.
- From the Owners section, select the relevant user as the internal owner, then click Save & Exit.
This can also be done via bulk import. See the video demonstration or Import and Export Contract Data for more details:
Set Team Owners
If no team owners are assigned, the Late Response Escalation phase, and potentially the Approvals phase, may not function as intended. To assign team owners:
- From the navigation menu, click Teams.
- Expand the 3 dots on the relevant team, then select Edit.
- From the Owners section, select the relevant user from the Manager dropdown list, then click Save & Exit.
Repeat these steps until all teams have an owner.
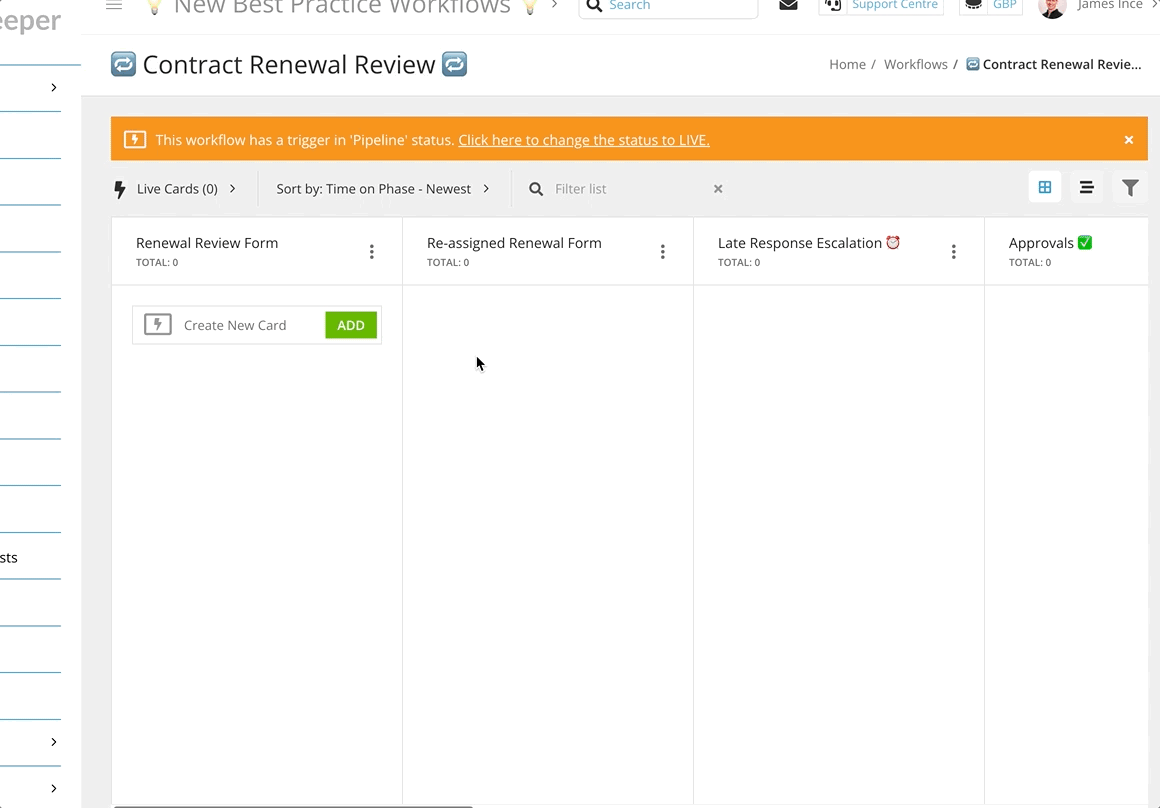
⚡️ Getting Started - Activate the Triggers⚡️
Once your workflow is fully configured, simply activate the triggers to make it live:
- From the navigation menu, click Workflows.
- Expand the 3 dots on the relevant workflow, then select Workflow Triggers.
- For any trigger with a Pipeline status, click on the trigger's name.
- Click the pencil icon on Trigger Status.
- Select Live from the dropdown list, then click Update.
- Click < Back to return to the list of triggers.
- Repeat steps 3-5 until all triggers are live.
Your renewal workflow is now active. Contract records nearing their End Date, Notice Date, or any other configured trigger date will automatically enter the review process.
Additional Reading 📚
- 🛠 Create your Own - Internal Contract Request Workflow - Learn how to configure a workflow for the request, approval, negotiation and signature of new contracts.
- Bulk Import/Export Contract Data - Learn how to bulk export and re-import contract metadata to populate necessary values for workflows to function
- ⚡️Testing Triggered Workflows - Learn how to manually trigger test cards for this workflow, so you can test the process before enabling triggers for your active contracts.