Sections in this Article
Introduction
"Card Instructions" refers to text you can embed within a workflow form so your users have all the guidance/context they need to complete the tasks you assign to them
While most of your workflow processes assigned to Vendor Portal users will be relatively simple...
"Populate some metadata fields"
"Upload some documents"
"Hit Submit"
...you should still provide something for your vendors who are new to Gatekeeper (& who are new to onboarding/due diligence process forms in general!)
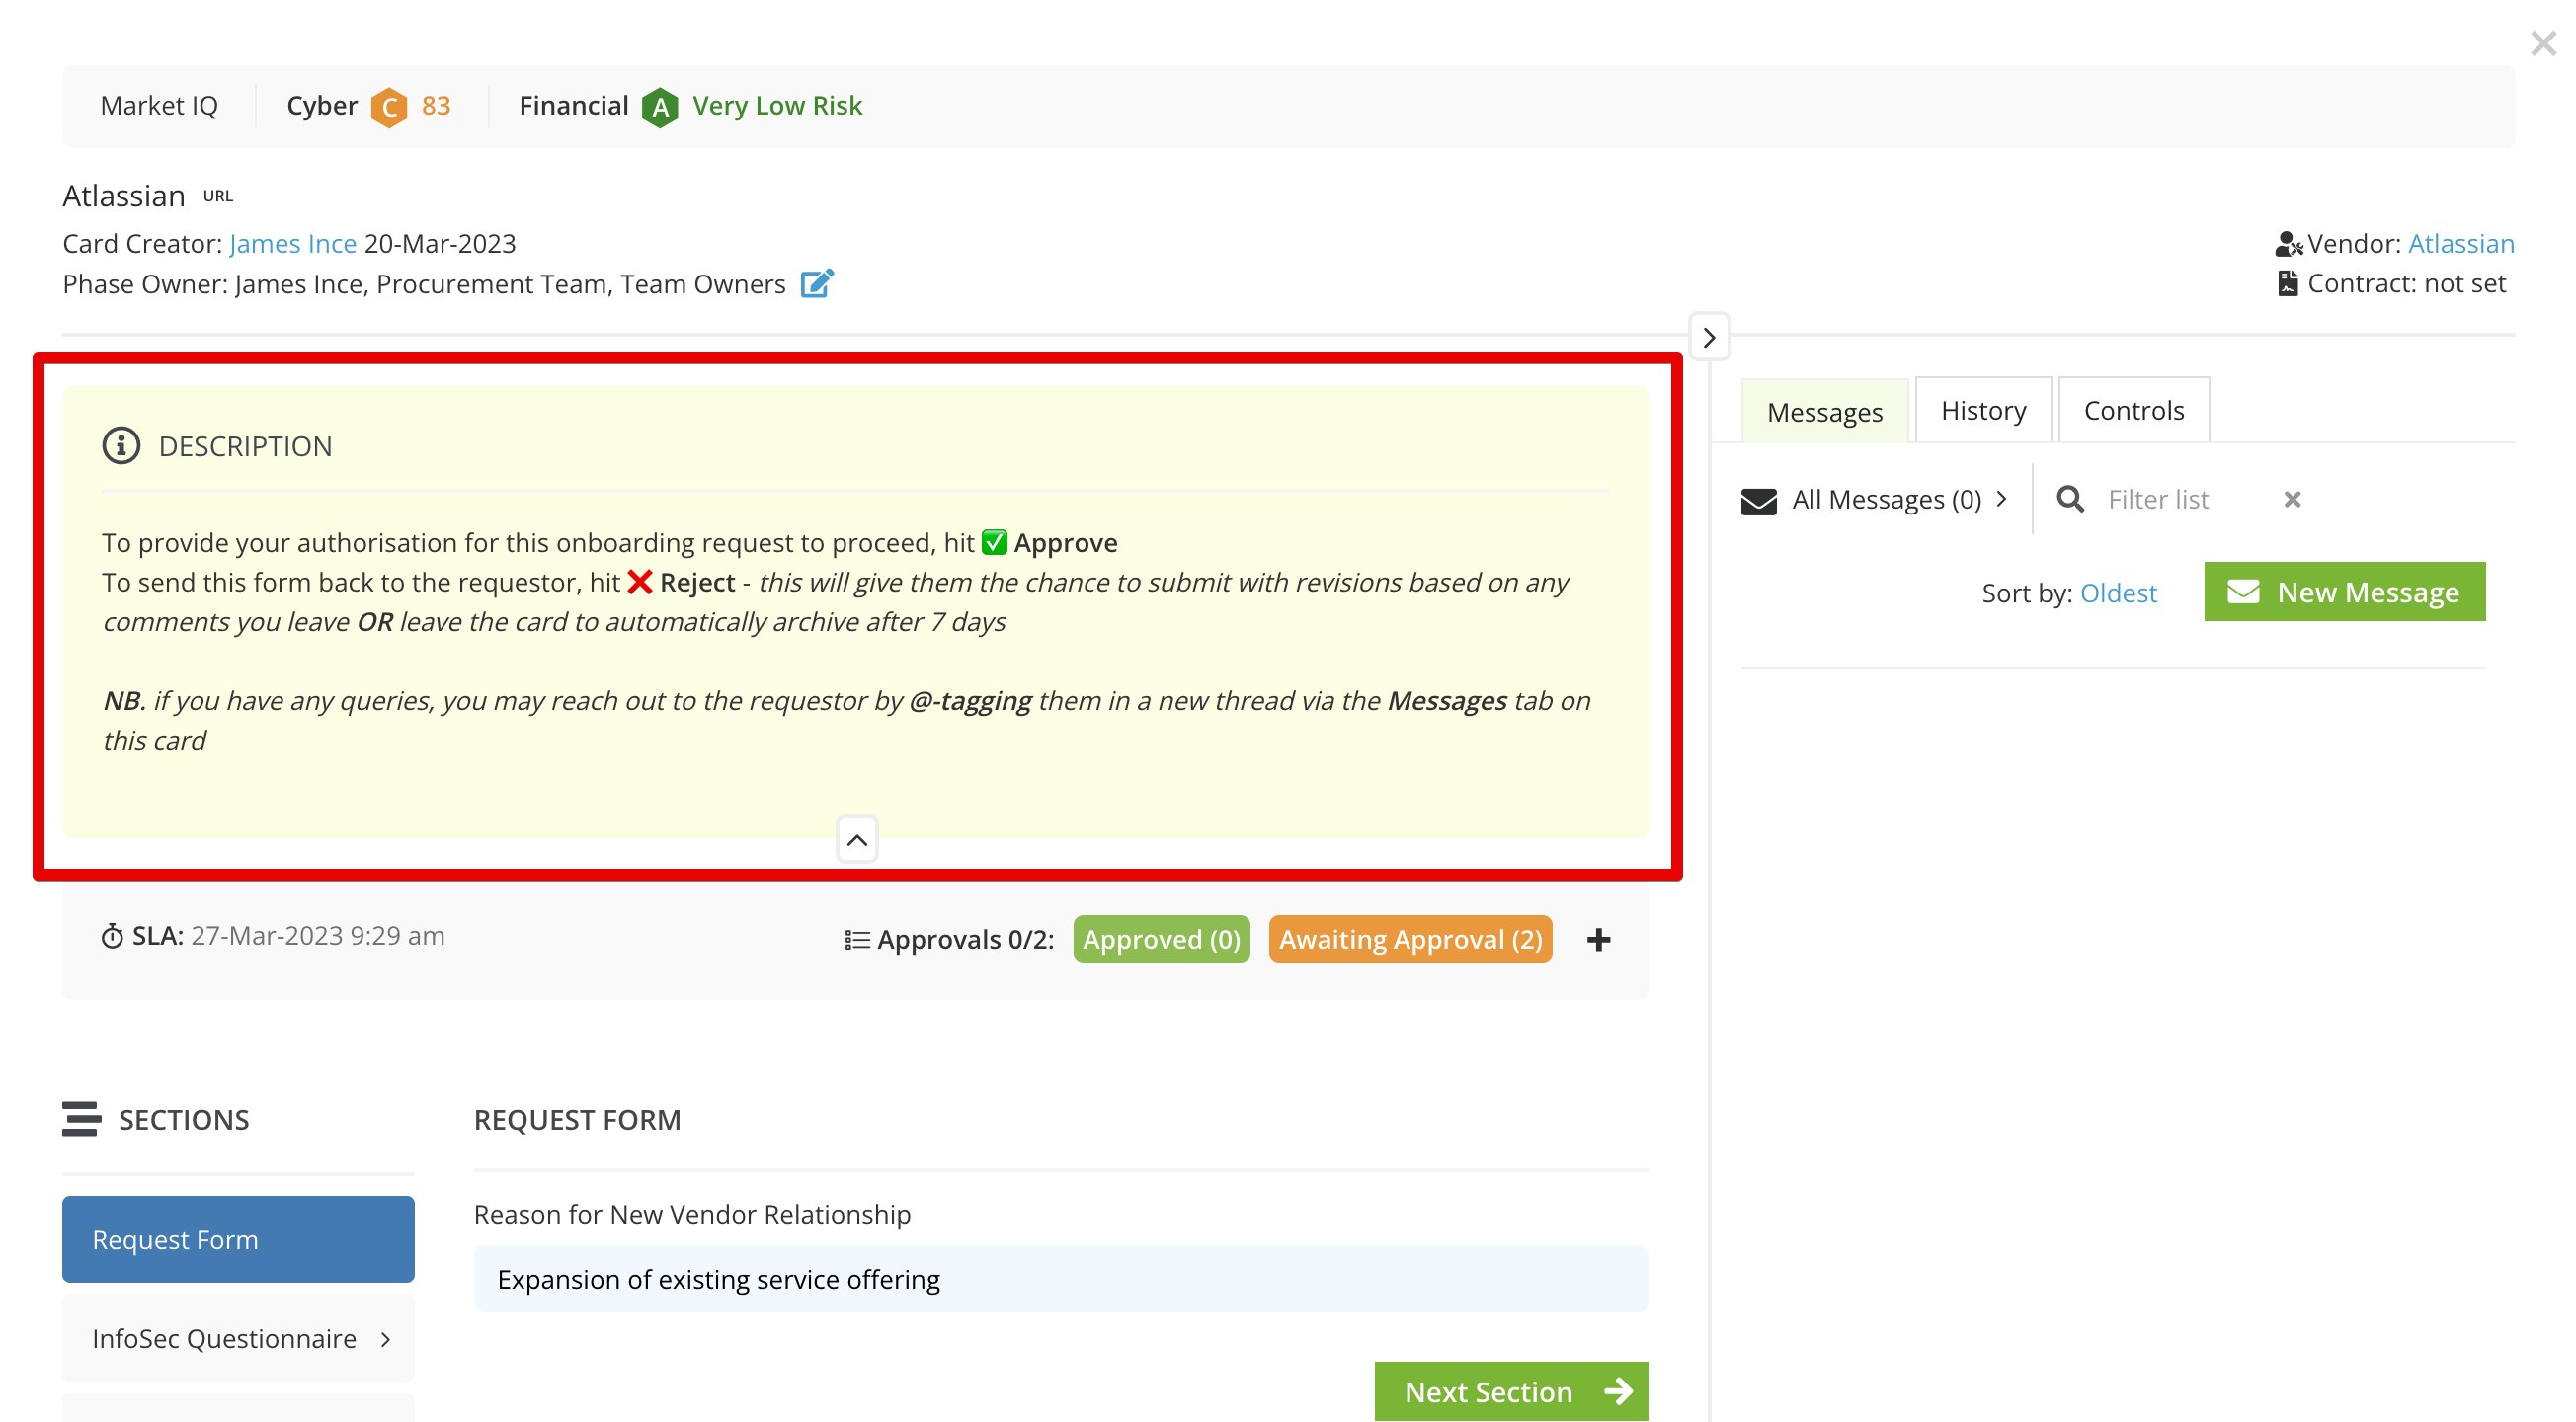
Example of an internal Phase Description:
Configuration 🛠
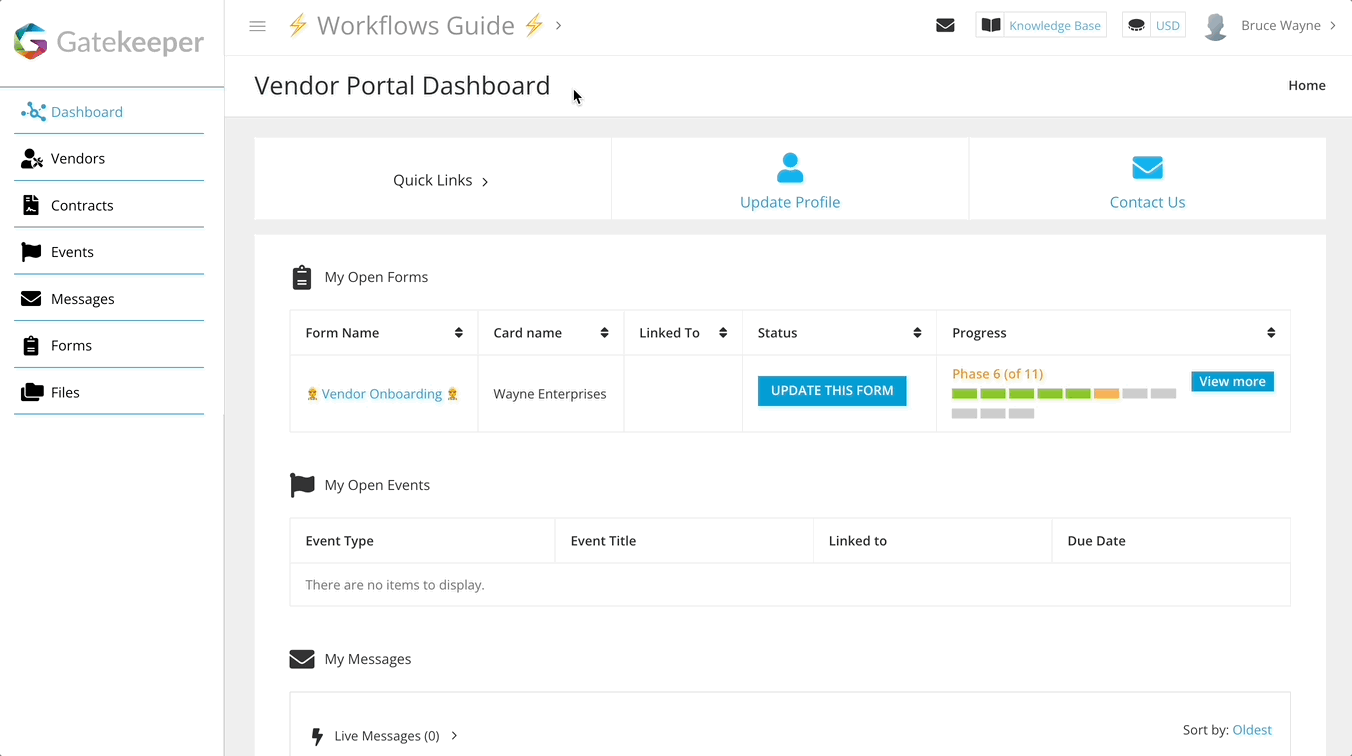
Similar to Public Forms, since Vendor Portal users are not accessing the full internal version of Gatekeeper, they do not see cards on a workflow phase like your Internal users would...
Therefore, if you populate instructions in your Phase Description, it will not display to your Vendor Users
There is a simple alternative though:
Simply add a new Section to the Form which contains the preliminary content/instructions for your vendors
Then only make this section visible on your Vendor Portal phase/s
Part 1 - Adding the "Description" Section
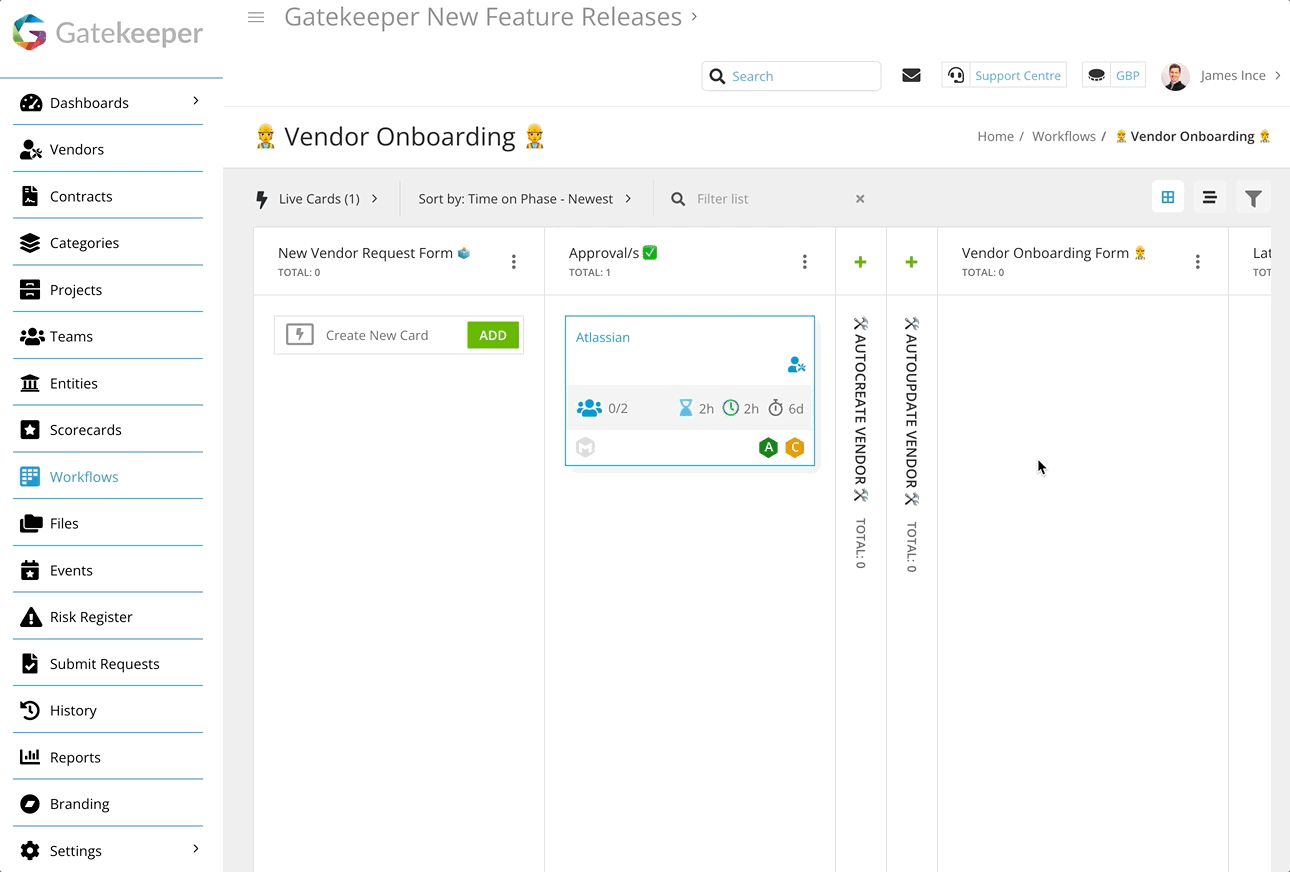
Step 1) Head to the Vendor Portal phase of your workflow and hit Edit This Phase
Step 2) Navigate to the Form tab
Step 3) At the bottom of the page, hit ADD SECTION
Step 4) Name your section something like "Vendor Portal Instructions"
Step 5) Use the Description section to capture your vendor instructions
We recommend for these instructions that you include:
- Actions required by the Vendor User (e.g. "Hit Submit when finished", "Hit Save to store your responses and complete the form later")
- Additional context about the Inputs (data/documents) required
- Additional resources if they have questions/need more context
- An escalation point/contact
Step 6) Check ☑️ Display Description , then hit ✅ Save
Step 7) Hit REDORDER & drag this new section to the top of the form
Step 8) Hit ✅ Update
NB. This gif uses html markdown for the formatting but as of May 2023 you can use the new embedded formatting menu!
To make the description section as useful/readable as possible for your vendors, we recommend using the formatting options available
a) Use varying text formatting like bold/italics to highlight key instructions
b) Hyperlink to other resources like support forms or walkthrough videos or even downloadable attachments
c) Break up sections between paragraphs/lists
See ⬇️ below section ⬇️ if you wish to copy elements from the description used in this gif
Part 2 - Configuring the appropriate visibility
Now that your "Instructions" section has been added, you need to ensure that it can only be seen by the right people. i.e. the Vendor Portal Users
Step 1) Head to the first non-Vendor Portal phase of your workflow and hit Edit This Phase
Step 2) Navigate to the Form tab
Step 3) Set the "Vendor portal Instructions" Form Section to 🔘 Hidden
Step 4) Repeat Steps 1 -3 for every phase in your workflow which is NOT a Vendor Portal phase
Other: Field Guidance
If you have specific questions in your form which need more context, you can embed guidance for these too!
This is obviously not just a Vendor Portal form consideration, but can be especially useful if you need vendors to provide a wide variety of information & documents during your onboarding & risk-assessment processes
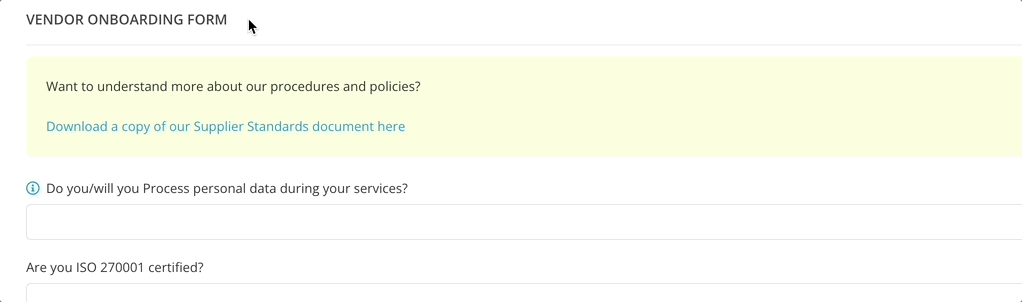
See 📖 Tooltip Text for more details
How it looks: Before 🥱
How it looks: After 🤩

FAQ 💬
Q: Can these updates be made if we are already using the workflow?
A: Yes. Any updates you make will instantly be visible to your Vendor Users
Additional Reading 📚
See a summary of the basics for adding guidance text to your workflow forms
Gatekeeper Expert - File Download Links
Learn how to create & embed automatic file-download links so your vendors can easily access template documents & guidance materials while completing workflow tasks
Other Articles in the Series ⚡️
Coming Soon: Supplier Portal Branding
Best Practice: Default Invitation Emails
Best Practice: Workflow Phase Notifications
Best Practice: Workflow Reminder Emails
Best Practice: Leveraging SLA Deadlines
Resources
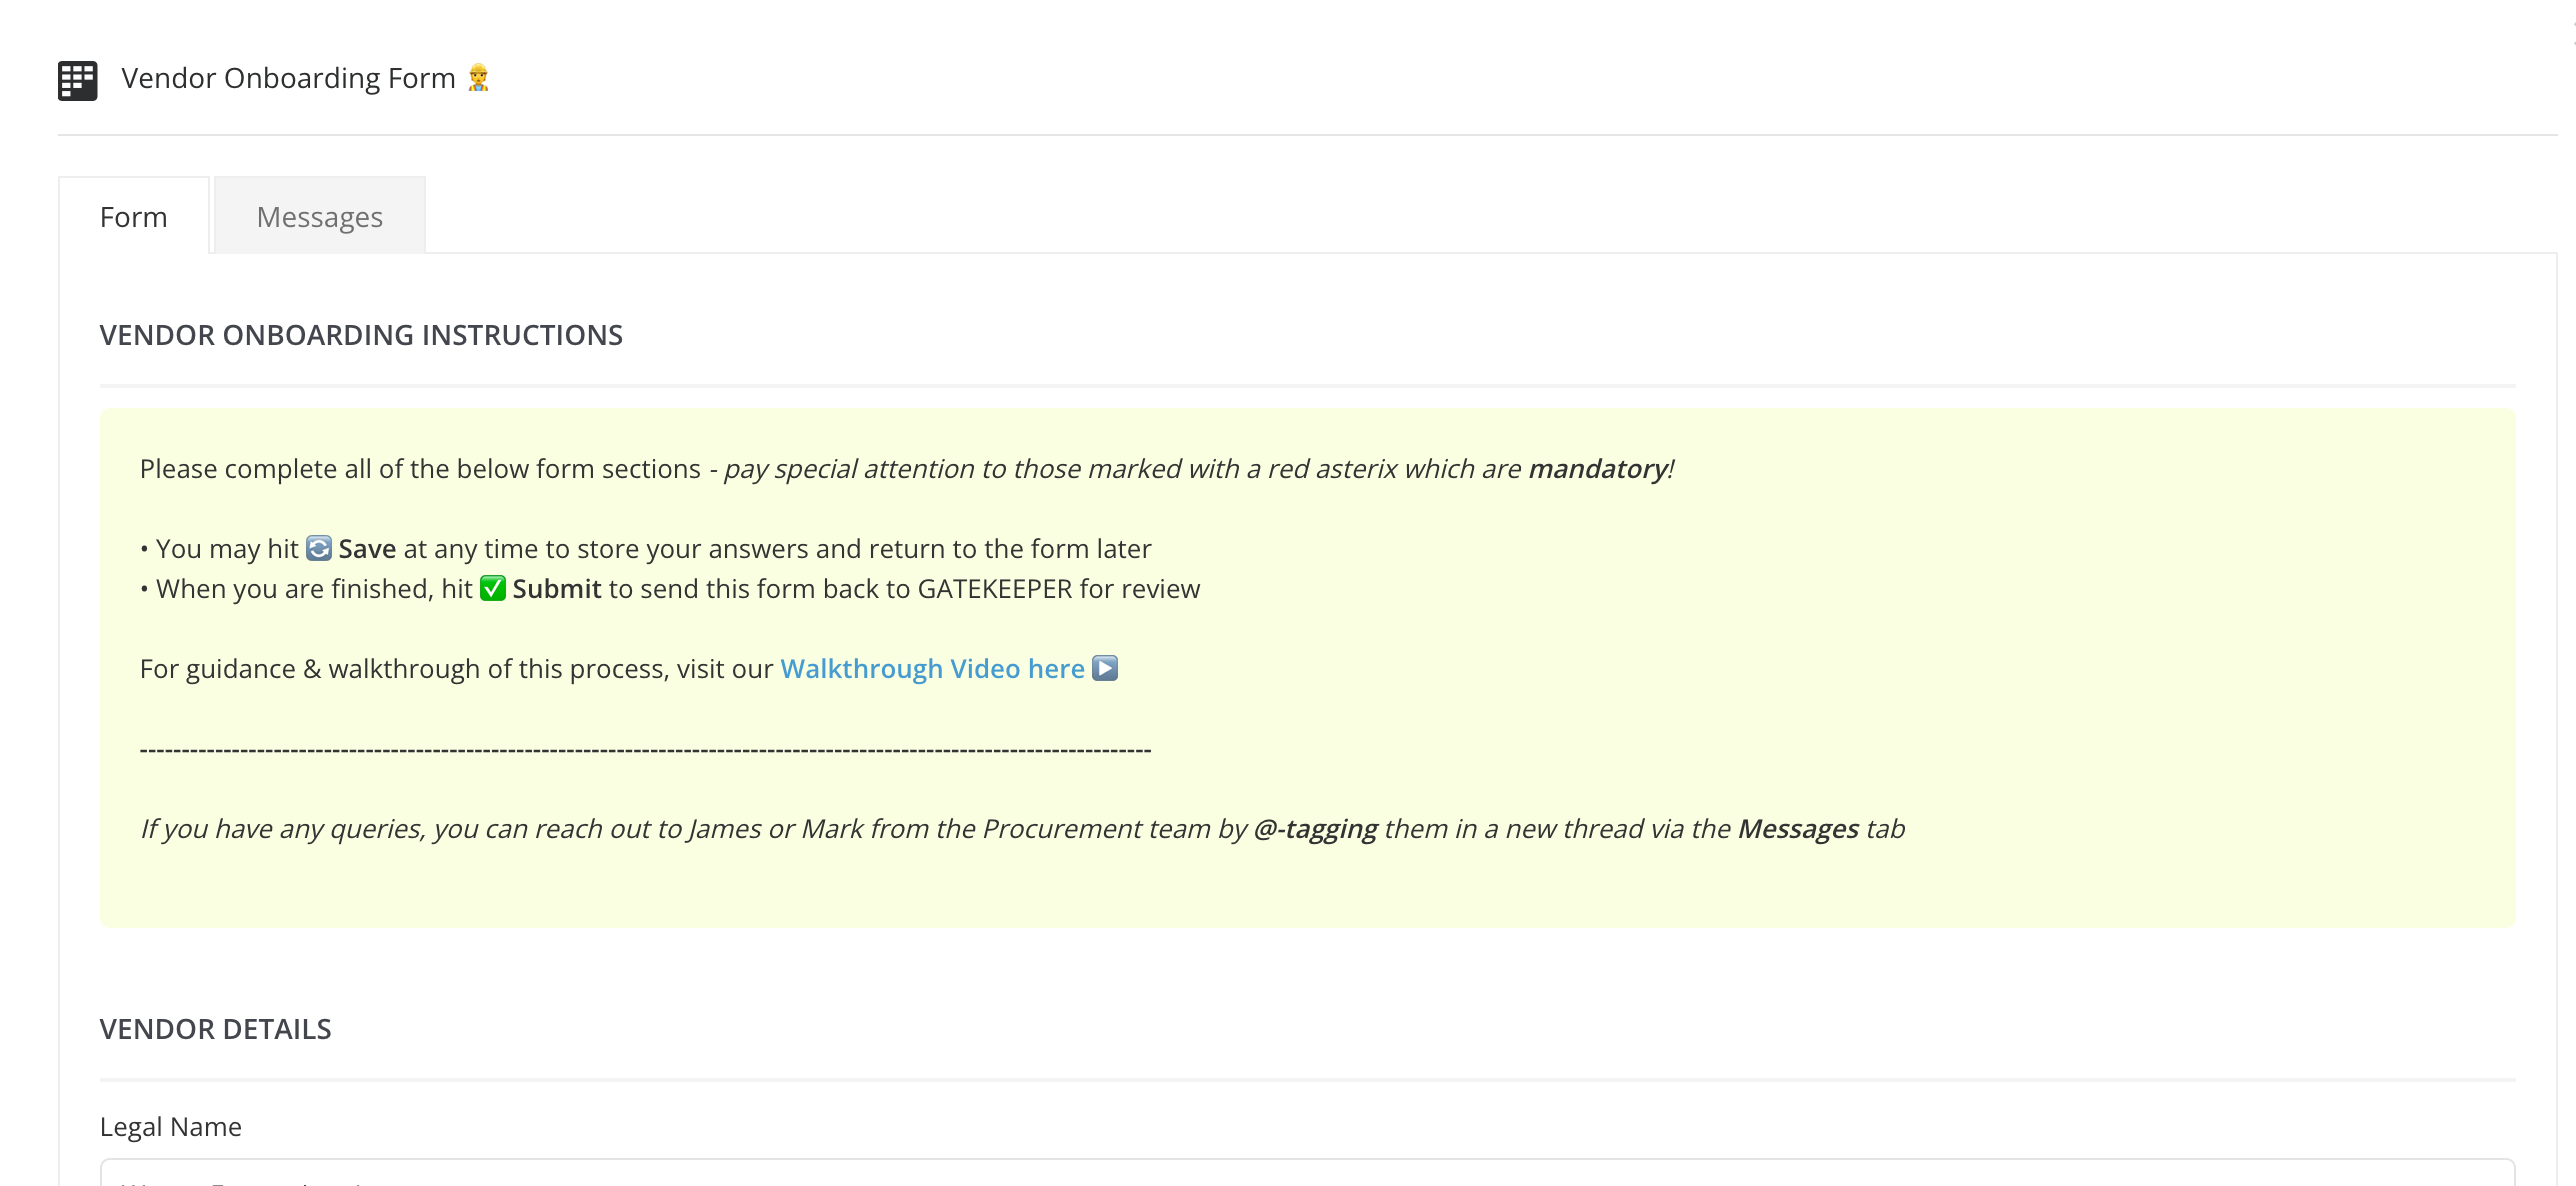
Text used for Vendor Portal Form Section Description
Please complete all of the below form sections - pay special attention to those marked with a red asterix which are mandatory!
• You may hit 🔄 Save at any time to store your answers and return to the form later
• When you are finished, hit ✅ Submit to send this form back to GATEKEEPER for review
For guidance & walkthrough of this process, visit our Walkthrough Video here ▶️
------------------------------------------------------------------------------------------------------------If you have any queries, you can reach out to James or Mark from the Procurement team by @-tagging them in a new thread via the Messages tab
Appearance in Form: