
![]() Estimated Read Time: 12 Minutes
Estimated Read Time: 12 Minutes
Sections in this article:
- Part 1: Create the Contract Record and Associate a Draft
- Part 2: Enable Draft Submission, Approvals, and Redlining
- Part 3: Draft Finalisations
- Part 4: Sign the Contract
- FAQs
Introduction
eNegotiate allows you to create, redline, publish and sign a contract document via Gatekeeper workflows. Watch the video for an overview of how eNegotiate works in practice.
Configuring eNegotiate on a workflow involves four key stages:
- Create the contract record and associate a draft: create a contract record in the Vault, and attach the initial draft agreement.
- Enable draft redlining: configure phases for internal and external parties to review, redline, and submit draft versions.
- Finalise the draft: convert the agreed document to a final, executable PDF ready for signatures.
- Sign the contract: gather signatures using Gatekeeper eSign, DocuSign, or an external signature method.
Part 1: Create the Contract Record and Associate a Draft
To initiate negotiations on a contract draft, a contract record must exist in the Vault. Once associated with the workflow card, you can create or upload the initial draft agreement.
Note: Files uploaded within a custom data group marked as sensitive cannot be used as an eNegotiate draft.
There are four standard ways to associate a contract record:
Method 1: Manual Actions
Enabling either of the actions below allows users to create the contract record and select the initial draft agreement in one step:
- Create Contract with eNegotiate Draft: Allows users to select a prebuilt contract template, pulling in contract metadata to use in the document.
- Create Contract and Associate a Contract Master Draft: Allows users to select a Lumin Intake file, a .docx file which has been previously attached to the form, or upload one directly as the first version of the draft agreement.
These actions can be enabled together, giving users the option to choose between prebuilt templates, form attachments, or their own uploads based on the contract being reviewed.
Alternatively, actions can be applied separately, allowing the contract record to be created at a different phase from when the draft is associated.
- Create Contract: creates the metadata record in the Vault.
- Generate Draft from Contract: creates a draft from a prebuilt template.
- Associate a Contract Master Draft: uses a Lumin Intake file, form attachment or uploaded file.
Note:
-
You can upload .docx and .pdf files as a draft. PDFs do not support dynamic field merging, template handlebars, or tracked redlines. For editable, templated contracts, it's recommended to use .docx.
- To save time when using manual Create Contract actions, you can configure some form fields to be pre-filled. See How to Lock Fields for further details.
Method 2: AutoActions
To reduce administrative overhead, you can automate these actions across two sequential phases:
- AutoAction | Create Contract followed by AutoAction | Generate Draft from Contract
- AutoAction | Create Contract followed by AutoAction | Associate a Contract Master Draft
Tip: To avoid clutter on a kanban board, AutoAction phases can be minimised by default. For more details, see Minimise Workflow Phases.
Once you have generated a document using an eNegotiate template, editing the fields on the record in the Vault will not affect the document content.
Note:
- When enabling the Generate Draft from Contract or Associate a Contract Master Draft AutoActions, it's recommended to enable the manual equivalent simultaneously to ensure that any failed AutoActions can be rectified.
- If the Associate a Contract Master Draft AutoAction is enabled, but no Lumin Intake file is associated with the card, or no .docx or .pdf is uploaded to the selected field when this action is completed, the AutoAction will fail.
- If the Generate Draft from Contract AutoAction is enabled, but no eNegotiate templates have been configured for the contract type on the card, the AutoAction will fail.
Method 3: Amendment Workflows
Part 2: Enable Draft Submission, Approvals, and Redlining
With your contract record and draft associated, configure the workflow phases to allow internal and external parties to review, redline, and submit draft versions.
For External Vendor Users
You can automatically send draft versions of the contract to vendors, with action links embedded in the notification email. Vendors can submit their own version, or accept or reject the current terms.
Note: This does not require the Vendor Portal.
To configure an external eNegotiate phase:
- Navigate to the workflow and click the relevant phase to edit it.
- From Form Access, select the Vendor eNegotiate checkbox.
-
Under Auto-assign card owner by, select a phase owner (for example Contract Owner or First Vendor User). It's recommended to select an individual user, as the notification email contains unique submit/approve/reject action links. Sending these to multiple people could lead to confusion with contradicting document revisions.
- From Notifications, enable the email notification toggle for the Card Owner. Click the pencil icon to ensure that the button type is set to eNegotiate.
-
From Approval, select the Enabled radio button. Leave this disabled if you expect the vendor to upload a revised version, and want to prevent them from proceeding without submitting an updated contract.
- From Actions, select the Submit Contract Draft checkbox.
-
If required, select the Email - Submit & Approval Only checkbox to remove the ability for vendors to reject a draft, meaning they will only be able to Submit a new version or Accept the latest version.
-
- Configure the transitions from the phase based on the draft actions taken:
-
Suggestion for Submit: Send to your internal eNegotiate phase.
-
Suggestion for Approve: Send to draft finalisation/eSign phase.
-
Suggestion for Reject (if allowed): send to your internal eNegotiate phase.
-
For Internal Users and Groups
To configure an internal eNegotiate phase:
- Navigate to the workflow and click the relevant phase to edit it.
- From Form Access, configure the settings for the relevant individual/team who should be managing contract negotiations.
- From Notifications, enable the email notification toggle for the Card Owner. Click the pencil icon to ensure that the button type is set to eNegotiate.
- From Approval, select the Enabled radio button.
- From Actions, select the Submit Contract Draft checkbox.
- Configure the transitions from the phase based on the draft actions taken:
- Suggestion for Submit: Send to a vendor eNegotiate phase.
- Suggestion for Approve: Send to draft finalisation/eSign phase.
- Suggestion for Reject (if allowed): send to a Rejected (Done) phase.
Internal users can access the draft review from the following areas:
Email Notification
The user can use the eNegotiate buttons found within the notification email:

Workflow Card
The user can click the buttons directly in the workflow card. This will also display the Lumin Insights contract summary if available:

Via Microsoft Office for the Web (on the workflow card)
This gives the user Upload New Version / Edit in OFTW buttons as well as the standard eNegotiate buttons.

Note: If you are using Parallel Approvals on an internal eNegotiate workflow phase, users can't approve via the eNegotiate email. Approvers must navigate to the workflow card to approve from there.
Part 3: Draft Finalisations
Once all parties have agreed on the draft terms, the document must be converted to a final, executable state. If using Gatekeeper eSign, the document must be converted to PDF before signatures can be collected.
If you are using an alternative Signature method (i.e. one which takes place outside Gatekeeper), this step is not required.
Method 1: Convert the Draft Manually
Before converting to PDF, a user or team may want to review the document to tidy up any comments, redlines, or typos. After doing so, the following actions can be used:
- Publish Contract Draft & Convert MS Word to PDF: This action converts a contract version from .docx to .pdf for you.
- Publish Contract Draft & Upload PDF: This action allows the user to upload a final reviewed .pdf file, ready for signatures.
Note: Both actions can be enabled simultaneously, giving users the option to upload their own PDF or allow Gatekeeper to generate it.
Method 2: Use AutoActions to Convert the Draft
Gatekeeper can automatically convert .docx documents to a .pdf file using the Publish Contract Draft & Convert MS Word to PDF AutoAction.
Note: If the negotiation cycle is likely to include many alterations, it's recommended to use the manual publish actions to ensure the final PDF is free of comments or tracked edits before signing.
Part 4: Sign the Contract
Gatekeeper eSign
The final step is to gather signatures from all required parties. Gatekeeper's native eSign solution enables this directly within the workflow.
There are two methods for configuring Gatekeeper eSign actions on a workflow phase:
- Enable eSign: allows users to initiate eSign by sending a contract document to internal/external signatories.
- Select the Inline Only eSign checkbox to require signature boxes to be placed on the document itself before the signature request can be sent.
- AutoAction | Send for eSign: automatically sends the master PDF document for eSignature to the Internal Contract Owner and Vendor Contract Owner.
-
If the associated contract record does not have both of these owners populated, the action will fail. Select the External Signatory Only checkbox to remove the Internal Contract Owner signature request. This is useful for pre-signed boilerplate contracts like NDAs or Terms of Service.
-
For more information on eSign, see:
DocuSign
The Enable Docusign action allows users to use the DocuSign integration when sending documents for signature. This method can be enabled alongside Gatekeeper eSign so users have the choice of signature method depending on preference or contract compliance standards.
For more information on Docusign, see:
External Signatures
If you wish to use an external signature method (for example other third party tools, or physical document wet ink signatures), enable the Upload Signed Document action. This allows the user to provide a PDF which has been signed outside of Gatekeeper.
FAQs
Do vendors need a Vendor Portal account to participate in eNegotiate?
No. eNegotiate for external parties works entirely via email action links. Vendors can submit, accept, or reject a draft without logging in to the Vendor Portal.
The AutoAction | Send for eSign failed on a card. What should I check?
The action requires both the contract owner fields to be populated on the contract's repository record. Check that both fields are present there, not just on the workflow form. Actions in Gatekeeper read from the repository, not the form directly.
If you haven't run a Create or Update Contract action earlier in the workflow, any owner data entered on the form won't have been written to the repository yet, and the eSign action will have nothing to read.
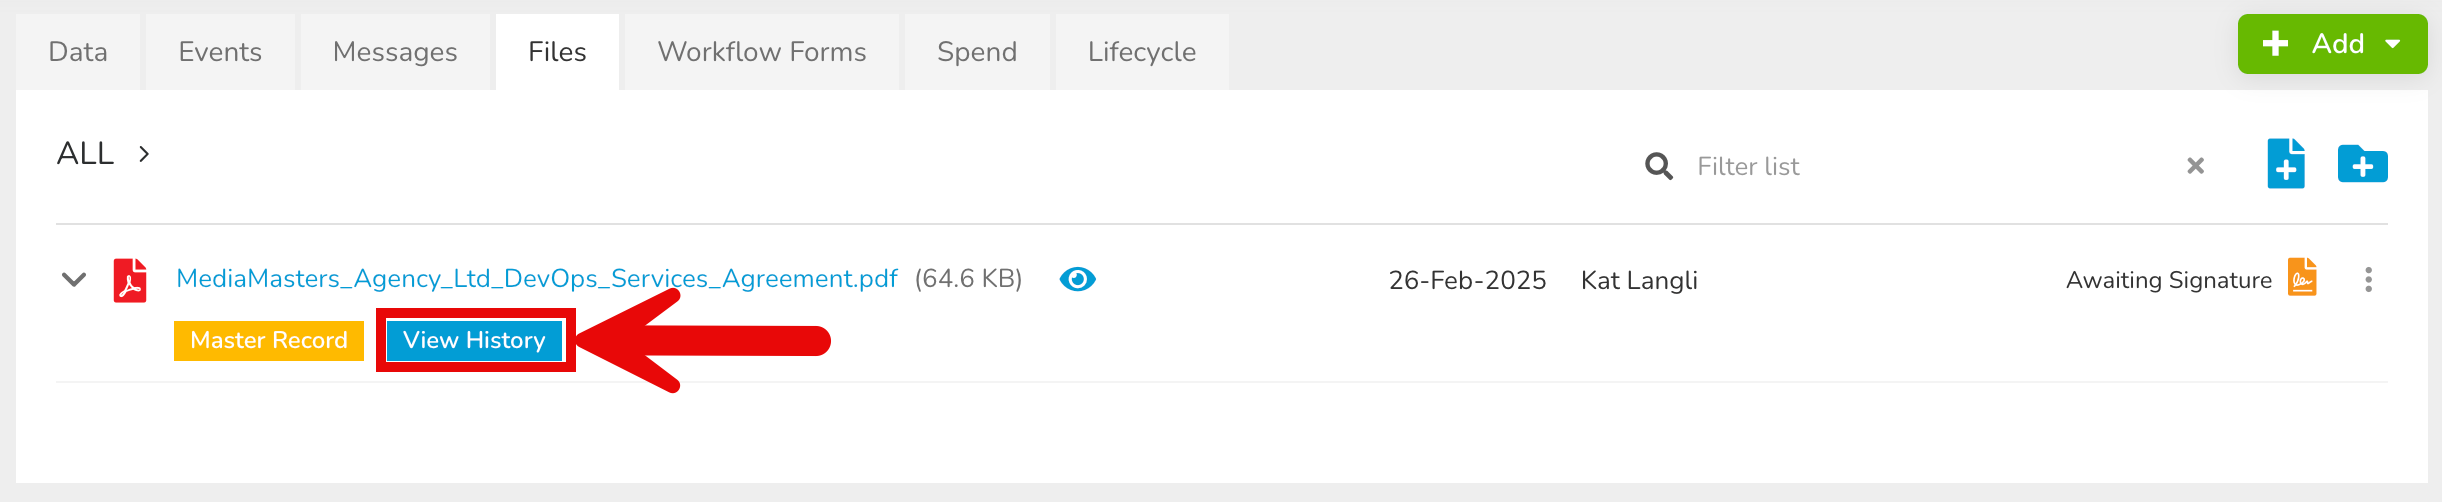
If a vendor/internal user submits a revised draft, are previous draft versions still accessible?
Yes. Every version of the file is saved and accessible via the version history on the contract record.
Why isn't an eNegotiate action available to be enabled?
There are a few reasons an action may be unavailable or greyed out on a phase:
- Actions are not available on start phases.
- Conflicting actions are already configured: certain actions cannot coexist on the same phase. For example, AutoAction | Create Contract must be configured on a separate phase to eNegotiate actions.